Car Photo Editing Checklist for Car Dealers
When you are a car dealership, the importance of good-quality photos cannot be overemphasized. However, taking good photos is not always easy, especially if you are not used to it. To make sure that your photos turn out great, use this handy car photo editing checklist. With just a few simple steps, you can dramatically improve the appearance of your car photos.
25 Car Photo Editing Checklist For Car Dealership Business Owners
1. Pick images that show clarity and quality
This one should go without saying, but you want to choose pictures with high resolution/clarity and decent aesthetic value – i.e., no photos with extremely low light or blurry parts. Using stock photos is a good idea if they can convey the message better than a picture taken by someone at your dealership.
2. Ensure every car has an outline
Include simple outlines around all cars to provide context for those unfamiliar with them. This will also decrease pixelation from being enlarged.
3. Edit color intensity and sharpness to maximize quality
As an industry rule of thumb, the human eye can only distinguish between 5-7 megapixels at a time, so you don’t want to go above this number. Try editing the color intensity and sharpness to get more value for your photos’ resolution.
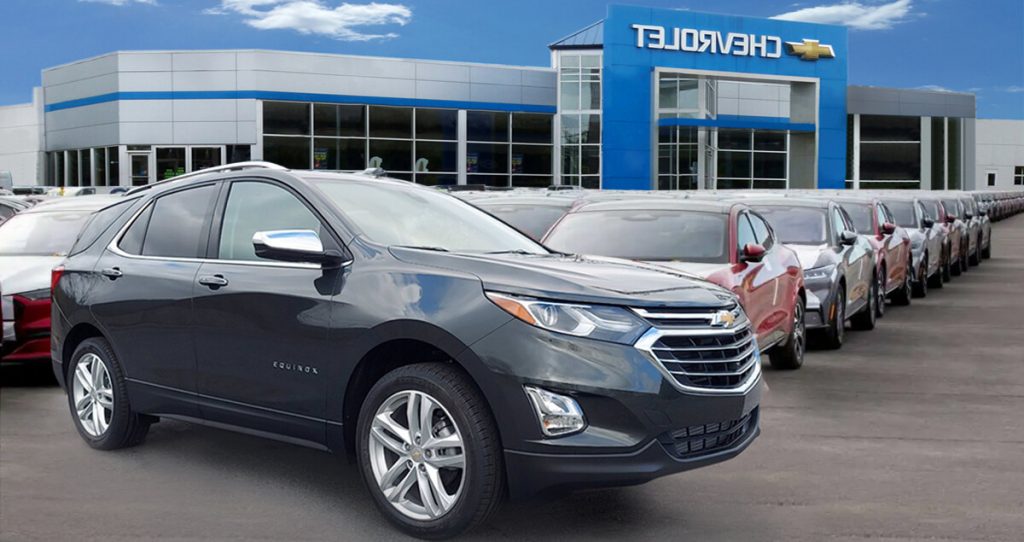
4. Don’t overcrowd images
Using too many elements in one photo will make it very crowded and less aesthetically pleasing, and ultimately harder for viewers to process quickly. Try sticking with one subject per image; multiple subjects can be showcased within the same picture but must be done sparingly.
5. Remove any logos or watermarks

The point of car dealership business photography is to convey a sense of professionalism and classiness; adding logos defeats that purpose. If you use stock photos, you can usually remove the logo within the editing process without too much trouble, but if using images taken by your staff, you might have to work around it (e.g., covering up certain parts of the car with another object).
Keep reading to learn more about car photo editing checklist , or if you’re car deader owner or used car dealership business and looking for the best solution, read about all our car photo editing services here or you can chat with us about 24-hour delivery on high-volume orders.
6. Add captions for cars with complex names
Make sure they are legible if you want to name each car in your inventory within an image. Captions are perfect for this because they won’t interfere with viewing pleasure, but make sure to place them in an area where they aren’t distracting.
7. Include your dealership’s logo and information

Being able to get your brand out there is integral to any marketing campaign, so make sure you include the name of your dealership (and variations like “dealership,” “dealer,” etc.) along with a hyperlink. Placing it prominently within the image but not too ostentatiously is key; viewers should be able to pick up on its existence without needing direction.
8. Use logos that are clear and easy-to-read
As with captions, ensure that the logos for each car model are legible enough that viewers can understand them at first glance without having to squint. As mentioned before, simple logos are the best because they don’t detract from the main focus of the photo. If there’s too much text for your logo, consider using a cleaner one or placing it somewhere that doesn’t distract (e.g., within the outline ).
9. Include informative captions
Having informational captions is key to making sure viewers understand what they’re looking at, especially if you provide captions for every image. Include information like model name, year introduced/manufactured, and major features because otherwise, it defeats the purpose of including car photos in your dealership business photography.
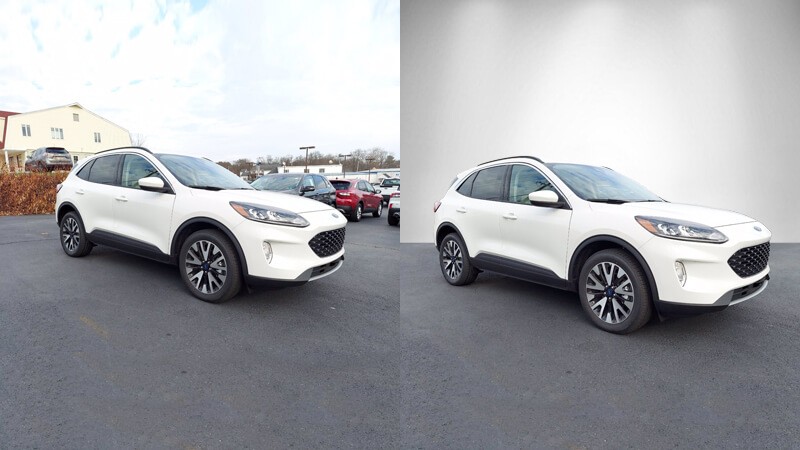
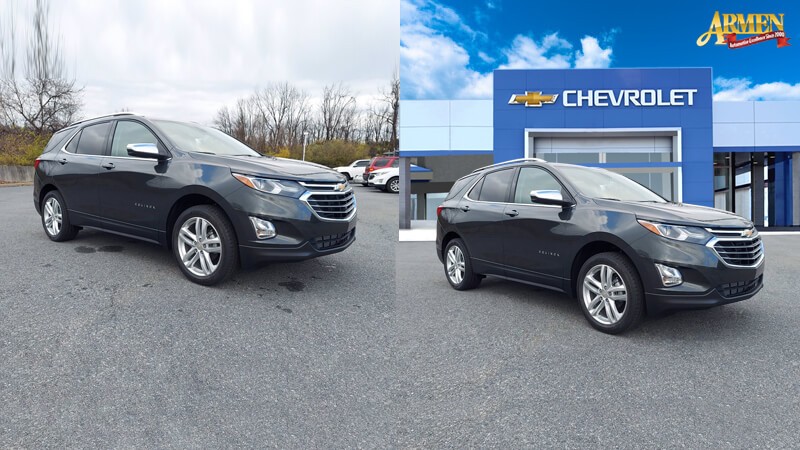
10. Don’t overlook backgrounds
One easy way to make your images more appealing is by adding attractive backgrounds. If you use a white background, make sure it’s clean and without any blemishes or stains; a dirty floor will detract from your cars’ presentation. If using a more colorful background, be careful not to go overboard. Too much color can affect how viewers perceive the foreground elements. Read our car photo editing checklist which will help you get eye catching images for your business.
11. Add textured effects where applicable
Adding textures like woodgrain or leather-like patterns can give your pictures an added touch that makes them seem more realistic. However, keep in mind that this doesn’t work well with every image, so only use it when necessary. This is especially important for images involving interiors because emphasizing details on things like steering wheels and seats can draw attention to key features of the car.
12. Use high-resolution images
Having high-quality images is important for any marketing campaign, especially if you’re looking to include them in your dealership business photography. Make sure they are clear and free of blurriness; blurry or pixelated images look unprofessional and will come across poorly to viewers.
13. Use the right visual cues
When using images, consider what each one is lacking – extensive captions? An informative description? A location (e.g., exterior shot)? All three? If something is missing, add it or choose a different image because trying to cram too much information into one picture will only detract from your car photos.
14. Keep backgrounds uniform
The background should always be consistent throughout your dealership’s business photography so that viewers don’t get distracted. For example, if one car has a vibrant backdrop while the other’s is white, it can seem unbalanced and detract from your overall photo presentation.
15. Get rid of the red-eye if needed
This isn’t noticeable in front-facing images, but it occasionally pops up. If you see it when editing, select “reduction” or simply remove the eye to minimize its appearance; otherwise, doing nothing will make photos look significantly less professional. Note: another way to fix this problem is by using flash when taking pictures in the first place. Make sure not to use a flash that’s too bright, or it’ll cause white spots to show up in your pictures.
16. Try different angles
To maximize your marketing potential, try taking pictures from different angles. This is especially important for dealer staging images because drivers should be able to see what’s available before they get out of their car; going over the entire inventory while walking through the lot only takes away from the presentation. If your dealership business photography includes samples of colors and interior options, take shots from multiple angles so viewers can truly appreciate everything on offer.
17. Utilize a variety of focal lengths
Unless using a fish-eye lens, most cameras restrict users to certain focal lengths (e.g., “telephoto” or “wide-angle”). However, taking out the guesswork allows you to work with more freedom. Try using different focal lengths to experiment with which one works best for any specific image. If there’s a certain type of photo, you want people to associate your dealership business photography with, be sure to use it as frequently as possible, so viewers easily recognize what they’re looking at.
18. Make use of natural sunlight
The sun is an incredible resource that most photographers take for granted! Compared to indoor lighting, its light provides a warm glow that makes images seem more attractive just remember not to photograph subjects facing away from it because this will cause them to look significantly darker than what’s being shown on screen. Note: if you can’t fit cars in front of the sun, shoot them at angles that don’t include harsh shadows on their windshields.
19. Ensure your photos are true to life
Dealership business photography should reflect reality as closely as possible, but sometimes it’s necessary to adjust elements for clarity or comprehension. This is especially important if taking pictures indoors because flash can cause major reflections on shiny surfaces, so consider natural lighting instead. Also, be aware of different viewing environments because things might look significantly different depending on whether someone is looking at a computer monitor or smartphone. Note: let professionals edit your pictures if they doubt the accuracy of what they’re being shown.
20. Edit carefully & thoroughly
Editing photos is all about trade-offs. Perhaps one car’s color should be different, or you need to move an object to make the image flow better. Whatever the case may be, always try to get as close as possible before finally publishing your dealership business photography. When done correctly, this will help increase your sales and improve your company’s overall presentation.
21. Clean up your lot
Specks of debris are easy to overlook, but if taken pictures of or simply looked at by customers, they could be incredibly distracting. Suppose people see something in the corner of their eye while browsing through photos on your website. In that case, they’ll automatically assume it’s part of your dealership business photography even though it isn’t. This is unhelpful for sales because buyers will focus on the negative details instead of all that you offer, but also consider the fact that doing nothing will cost you additional money over time thanks to the constant repairs.
22. Include window stickers in reflection
Window decals provide useful information such as company slogans and identifying marks, so why not use them for something other than advertising? If you stand far enough away from cars and also manage to photograph them at just the right angle, it will be possible to capture the exterior decals in a reflection of one or more windows. This can be tricky to get right, but when done perfectly, it’ll look incredibly professional and help highlight all that your dealership business has to offer.
23. Don’t neglect textures & shadows
One way to make cars seem even more magnificent is by highlighting their texture. Compared to other forms of media, photos provide an unparalleled ability for visualizing small details – take advantage of this by taking pictures from the ground while standing next to vehicles, then editing them so that everything looks perfect. Shadows are another great way to enhance because they allow you to show off things that are normally too dark to see, such as matte paint or heavily detailed wheels.
24. Don’t cut things off
Car shoppers typically want to know what they’re getting for their money, so if you cut out part of the car’s exterior or even its interior, they might not be happy about it. This is especially important for pictures that are being used on websites because buyers assume everything they see is accurate. If there isn’t enough room in one photo, don’t be afraid to take multiple ones that can then be edited into a single image with ease using editing software just make sure that none of them will give away any secrets, such as the fact that there are no floor mats under a carpeted area.
25. Make sure tires are straight
Regardless of whether or not it’s possible to show off interiors, wheels, or window decals in reflections, they all lose some of their lusters if the tires lean too far away from being straight. If this happens due to insufficient lighting, then try using manual settings to adjust accordingly; just remember that every dealership business has tight budgets, so always be considerate when taking pictures and carefully plan out what will need special attention beforehand.
Conclusion:
Make sure not to overcrowd photos with unnecessary text as most people do on the internet these days. Using natural lighting is important because indoor lights cause reflections which are bad for pictures; if photographers cannot fit cars in front of the sun, make sure to shoot them at angles that don’t include harsh shadows on their windshields (shadows can be painted out and/or photoshopped). If necessary, one should edit carefully and thoroughly before publishing anything.
