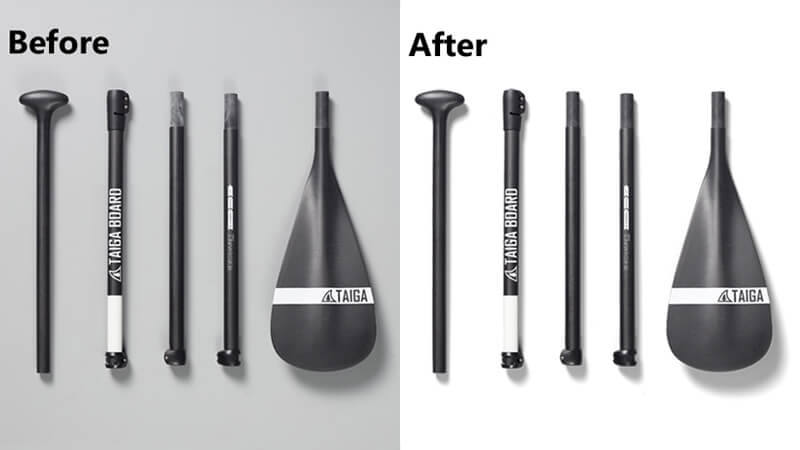
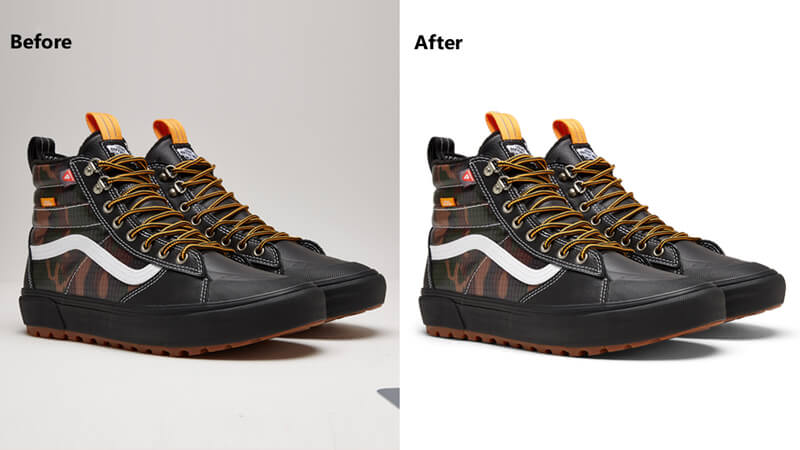
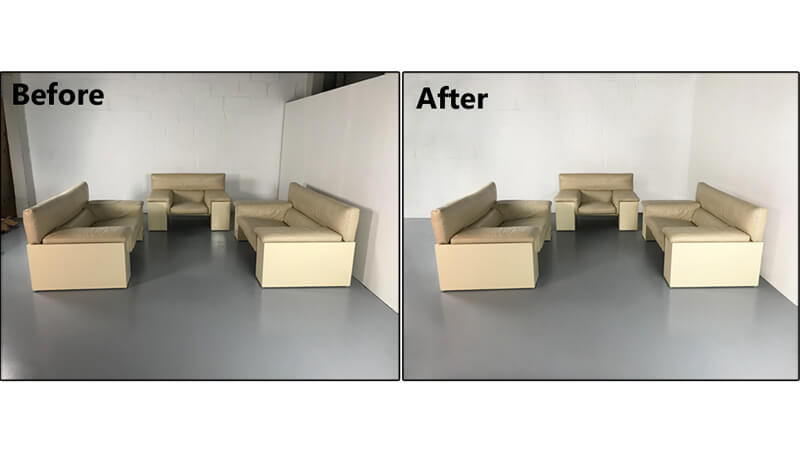
Regardless of how you may have in the photography field, there are top tricks for keeping things fresh. And this is no more than enhancing the quality of your images. In this case, your improved images got high chances to benefit and selling you to customers than just normal captures. It’s important to have a unique interpretations and reactions of your images from clients. If you’re an eCommerce studio looking for the best solution for your image, our photo editing services will help you to enhance image quality for eCommerce.

Thus, if you are among people feeling stuck in need of new and effective tips for seeing things, below are functional and easy to manage tips to eventually help you take your skills to the next level and meet your client’s expectations. Our Adobe Company has many years in photo editing and therefore we have gained sharp experiences and tips to help photographers produce professional images.
Exclusive Guide to Enhance Image Quality
Use the right editor and program
There are many photo editors who can aid someone enhance image quality but little offer a wide range of helpful tools and settings. In this case, you can choose Photoshop to improve image quality because it best software for many computers. This software is functional and beneficial when it comes to boasting tools and the intuitive interface. Also, ensure you use the free image editing apps which has free capabilities and broad functionality.
Apply white and black filter
This filter is among the easiest and most convenient method someone can use to create white and black image that often offer optimal results. In essence, using white and black dialogue window, someone may define color shades brightness.

But when you are not sure on how you should enhance an image utilizing shade in specific area, someone can click on the image without closing the white and black window, and your favorite color will be selected in the dialogue window.
The other thing is that when you move the cursor horizontally, most likely when a dialogue window is open, the corresponding shapes will turn darker or lighter. Overall, the results of applying white and the black settings are seen once someone experiment with the color shades.
Gradient and radial filters
Basically, the gradient filters are among the functional way someone can re-create the physical gradient filters. And this filter can be used in the front of the lens even when you are out of the field. Personally, I was using these filters to often lighten foregrounds and darken skies of scenes.
The radial filters are a wonderful way to rapidly focus on the attention of your viewer. And this is the same filer used in both landscape and portraits photographs to eventually get key message of image to your viewers.
Understand and look for proper light
Besides, a single light like sun tends to create different photographs by angle, which can take an image in the relation to source of light. Let’s say, for example, when you are shooting in sunlight, coming right from the behind or off the side may aid illuminate the subject.
However, if you should move to other side of subject when sunlight is directly pointing at the camera, this would result in the silhouetting of the subject. Various types of photo editing image which may alter your image include:
Filtered light, such as sunlight, softened, diffused, and passing via clouds that act like very huge filter.

Reflected light such as pointing lightly colored wall, use of the external flash. This will help wall acts similar like huge surface to typically reflect light back on the subject that can enhance overall light quality into image subject.
Sidelight for example, sunlight coming right at the right or left angle of your subject
Direct light, for example, pointing directly and using the external flash at the subject.
Remove the unwanted shadows to improve image quality
You can use the parameters like lighting or shadow to remove the unwanted too much dark or light areas from the image. And this usually appear when the shooting takes place right in the sunny day. In essence, the sub might create the white colorless zone in corners or preferably add the rough shadows to portraits to significantly distort them.
To Enhance Image Quality Select right lens and utilize it proper
Telephoto lenses, wide-angle lenses, fisheye lenses, and macro lenses are best to produce decent results, thus impacting your image. The wide-angle lenses can distort features they are close up to the subject. Landscape images appear perfect with the wide-angle of lenses.
Whatever the lens you select, you should be prepared to typically work your shot by playing about using different focal lengths, followed by physically moving closer or further away right from the subject.
Understand composition
Basically, this are two specific techniques to help the photographer improve how you should compose the shots. And the first tip is the rule of thirds. Imagine that your image frame is split into nine rectangles created by the two sets of vertical lines and two sets of the horizontal lines. Besides, these lines are useful to create points where vertical and horizontal lines cross the paths. This idea in your image makes it look better when your place essential and interesting subjects in the frame.
Enhance Image Quality : Frame the image correctly.
This is number rule when it comes to enhancing image quality. And this photo editing tip presupposes the entire division of your image by two horizontal and two vertical lines. Thus, four intersections are said to be useful points where specific subject looks harmonious. So, locate and focus into main objects at the intersections.
Remove the tilted Horizon and enhance image quality.
This line is the defect most probably when the horizon line in the image is not straight, maybe titled right or left. And as a result, your image will look unrealistic and distorted. And this becomes a typical rookie mistake in hand-held shootings or preferably when someone is in a hurry. To avoid this, adobe experts recommend any photographer looking to have enhanced product images draw one line along Horizon, followed by rotating your image, ensuring the line is straight.
Work with the contrast.
Don’t forget about the contrast when you are targeting to produce professional image quality. Once you decrease your level of the contrast, your photo tends to become softer and homogenous. However, you should not overboard. The light images and dark one might become indistinguishable, and as a result, you may lose the details.
Get rid of unnecessary objects.
Of course, pictures are likely to have extra objects which may spoil their overall appearance. For example, photographing a landscape, someone may capture an unnecessary electric tower. And while shooting the portrait, the signboard or other objects might spoil your perfect frame.
Therefore, in this case, someone is advice to use the Stamp tool. This allows you to carry the texture right from a specific zone of image to another, hiding the unwanted objects thus enhancing your image quality.
Remove skin defects to enhance image quality
As a good photographer looking to enhance image quality, you also need to understand and master different skin retouching tips. Such techniques are useful to remove the visible imperfections such as redness, pimples etc. Therefore, to cope in this situation, ensure you utilize the Healing brush tool and Stamp tool.
Blur image background
This will help you highlight the major elements. Basically, the modern cameras and the digital smartphones can typically qualitatively blur improper background to highlight objects from the foreground. Try and get rid of any unwanted objects from the backgrounds utilizing the professional photo editors.
Use leading lines
Such lines are composition tips in which the line shapes are typically framed. The lines are positioned by a photographer to draw your viewer’s eye over the intended subject in your image. And you don’t need to do the obvious geometric line to use the tip when it comes to improving the composition.
Remember your factor
To produce an enhanced images, be willing to typically experiment with useful settings of the camera as well as your tools at the disposal like lenses and filters. And through the procedure of error and trial, you are likely to find essential things which won’t work.
By not restricting to true and tried methods, you can hit upon the tip which aid to produce the spectacularly interesting results. And good examples consider taking light source like LD strip illumination.
The other thing you can improve your images is creating a single photo series out of the many images of the same subjects. Keep coming up using different mini assignments make you be used of using camera in particular way and also aid you build up skills gradually over time with dedicated practice.
Keep your wheels greased
The most important thing to note is that the less someone uses the camera, the more you are likely to forget. And it is vital to master how rapidly modify settings like menus, ISO, shutter speed, aperture, focus, exposure compensation, motor drive, shooting mode, white balance and more. So, unless you adjust all these settings on camera, you will miss some essential shots.
Final word
Don’t again show or post the low-quality image while we have gathered the below easy ways for you. Especially for the beginners you challenged are coming to an end. No need to use a lot of dollars addressing professionals on how you can enhance your product image. We got you covered. Go through the above article, learn and master the best product photo editing tips which will aid you to enhance product image quality overall images making them worthy of posting on the social networks.
