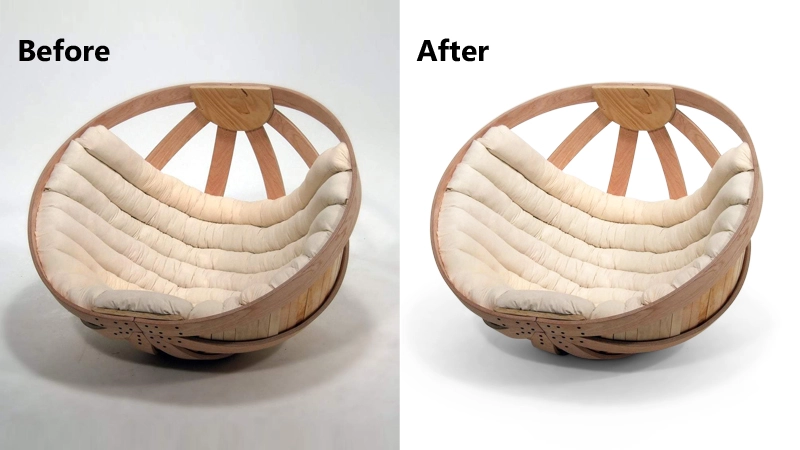
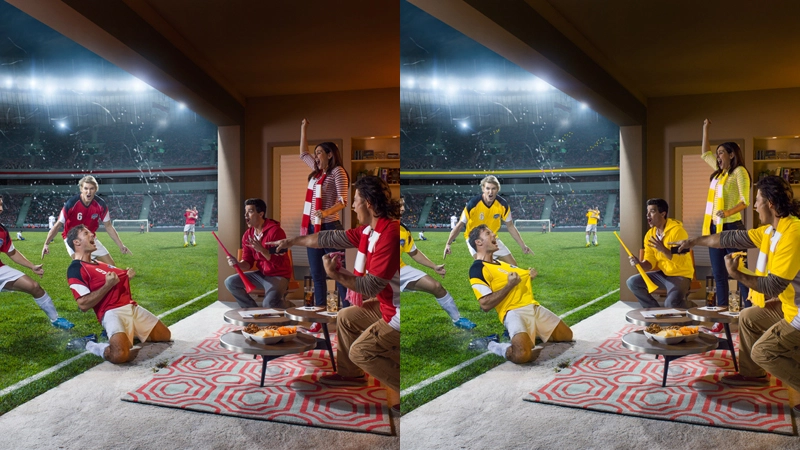
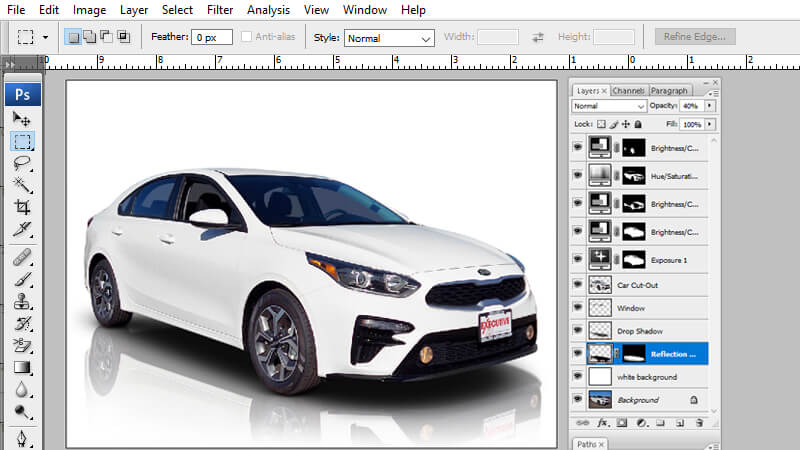
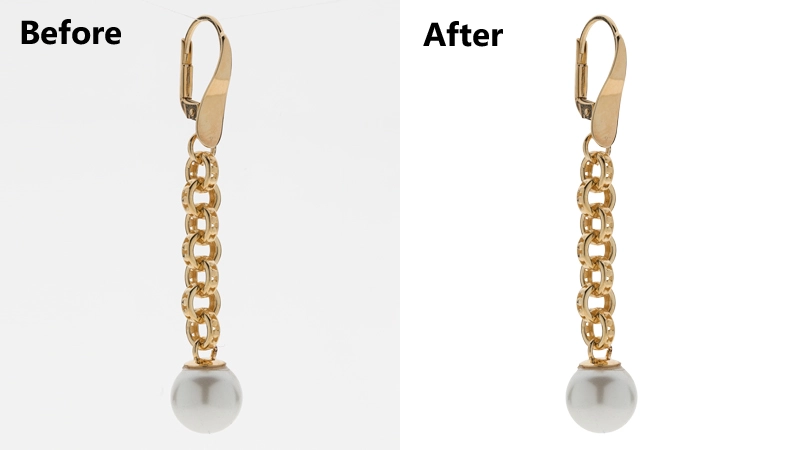
We live in modern technology where the visual culture is becoming more popular. Images have a considerable effect in our future and are still almost vital things to the corporate community. For example, if you decide to demonstrate different surfaces you deliver, highlight your offer, or reiterate your specific brand message, you can easily do it with your images. But unfortunately poor images can easily disappoint regardless your effort, And that why it important to improve image quality weather the product images, website images etc. Overall, professional images done through image quality resolution are essential in many businesses.

You don’t only need just an image but a pixel-perfect and quality image that will encourage clients to start connecting with you. Without much said, allow me to take you a helpful guide step by step on how you can improve image quality.
Three Methods To Improve Image Quality In Photoshop
Method 1: Improving blemishes and composition
Improve Image Quality : Crop your images using a rule of thirds
This is the best guide to compel shots. When it comes to increasing image resolutions, never assume an image’s original frames are the perfect option available. Therefore, using this rule, it states that if someone cuts his Image in thirds vertically and horizontally, the most interesting components must always be intersections and lines.
So, in Photoshop, these two specific lines appear automatically in cropping, which makes it simple to improve image quality. Remember, even the small crops can perfectly improve your Image. If there are any unnecessary compounds in the Image, consider to put primary lines such as horizon.
Utilize red-eye tool to improve image quality
This tool will help you clean the eyes of different portraits, thus increasing image resolution. Besides, you will find this tool under the Patch tool that is found under the eyedropper icon in the toolbar. In addition, you can press J to typically bring up the Patch tool, click and hold the icon to eventually reveal red-eye tool. Simply click & drag over eyes to perfectly remove the red-eye.
Play with spot healing brush to improve quality of image
Do this to remove the small blemishes. This helps to remove the small blemishes or pimples on the forehead. Click & hold the Patch tool, followed by pressing J, and it will pop up in your small menu right under patch tool. In essence, this tool tends to replace the clicked spot with pixels surrounding it alongside blending it perfectly. Overall, all the small problems will be erased and without ruining your Image.
Improve Image Quality Utilize content fill effect
This effect is great when it comes to removing simple imperfections and objects. For example, there was dirt on your lens and ended up putting brown spot right in your amazing landscape shot. This effect can help you cover the effect. Now to actively use the effect start from here:
Clicks (select) go to modify to expand
Expand selection by 10 to 5 pixels
Select edit and then fill
Select content-aware and select okay
Utilize patch tool
This is another amazing tool used to replace the small sections of your Image using another section of the Image. In this case, use the selection tool to eventually select things you need to eradicate. Further, select the patch tool via pressing J or preferably get it under the eyedropper icon. Click right on the selected region and hold the mouse intact. Immediately drag the chosen region to specific spot you need to typically replace with followed by getting your mouse go now.
Method 2: Improving clarity and color
Use the contrast and brightness to complete blacks, get dark and vivid white. Regardless of which Image you are editing, there is a difference right between your lightest areas and darkest areas. And this leads to compelling images when perfectly controlled.

Therefore, your goal here is well –lit Image with dark blacks, deep and bright, as well as well-defined whites. So utilize the brightness to ensure the picture will be clear. In this case, click the Image- adjustments – contrast/brightness. Overall, almost all your images can eventually benefit from 15 to 10 points of the higher contrast.
Improve image quality doing saturation
You will need to do this to make colors eye-popping and vibrant this, improving image quality. This is because going too fat might make your Image dull. Click Image – adjustments – saturation/Hue. At this point, ensure you increase the saturation by 10 to 5 points via adding a few points at different times until towards hitting the desired level. After, slide the saturation bar to the left to now put your Image in white and black.
Use the Highlights/ shadows to Improve photo quality
These are settings to get rid of overly bright regions and also weaken the dark shadows. In this case, the most popular usage of this effect is when sun tends to form unsightly, big bloom of the white light in corner of Image. This will wash out some part of your actual Image.

So, using shadows/highlights aids to target the darkest and lightest parts of your shot directly and leave the perfect regions. Just click Image- adjustments to Highlights/ shadows. Further, lower shadow slider to typically make dark regions lighter. From here, raise the highlight slider so you will darken bright areas.
Improving Image Quality : Utilize the sharpen filter
This is a unique filter that will aid combat unfocused shots or semi-blurry ones. The filter is said to make a serious difference for the slightly shots. And this will bring back definition and clarity in your image lines. Click filter from the top menu and choose either smart sharpen for more comprehensive effect and sharpen for the minor adjustments.
Further, under the smart sharpen; use the word (amount) to typically choose how often you can sharpen radius, thus making precise lines. In addition, this filter can also be used to reduce noise and smooth out over-sharpened regions.
Shrink lower-quality or blurry images
The big images often have issues and blemishes. So, shrinking your Image will offer some clarity. Pixels are a bit more compact, so our eyes tend to do better filling over grainy or blurry regions. Click Image to image size.

Next, choose to change or not change your images in pixels, or inches. Also, ensure your chain icon will be on when doing this to keep the proportions of your new photo rather than shrinking it unevenly. So, you can cut 25 percent or more to shrink more when required.
Method 3: Working effectively in the Photoshop
Utilize save as copy
This feature will help make duplicate photo before you edit. This would be the best practice, most probably the newbies in digital editing. This allows someone to edit and experiment without worries about mistaking.
It is also possible to click undo. However, this might be harder when trying different things simultaneously, such as tinting, cropping, sharpening, etc. So click file go to “save as” and at the bottom menu click “save as copy.”
Understand the power of layers adjustments
This understanding will help you gain control of many edits. In this step, what you need to experiment is contrast, color, and saturation, among many others. And since you need to save a separate copy of your Image before you edit, the adjustments masts will allow you to keep tinkering with settings, including turning off/on, even without using the “undo” option.
So click the window in the top bar- go to select adjustments- select your adjustments, either contrast/brightness to gradient maps. Further, delete- re-order or preferably change opacity of layers or again double-click to eventually change settings.
Set Photoshop to help open images in the camera raw
The camera raw opens the new copy of your Image with the sliders for contrast, color correction, saturation, light control, cropping, and clarity. This allows someone to make fundamental and quick changes with real-time effects and sliders.
And it will automatically appear when an image is open if you properly set it. To do this, click Photoshop in the upper left corner to preferences to file handling. And under the file compatibility, go to adobe camera raw. Click camera raw preferences to set TIFF & JPEG handling to open all supported.
Use the Batch commands to improving image quality
This type of command helps make similar edits on many images automatically. For example, you have someone’s images that are too dark, and they require the addition of 10 points of light and brightness. So, rather than editing manually photo after another, you can perfectly teach Photoshop to edit your images just once.
To do this, click window and Rarr to bring actions menu- new action and name it related to what you are doing- click Image to adjustment to contrast/brightness followed by adding 10 points. Click square “stop” button direct in actions menu when you need to end recording. Next, click file to automate to batch located on the top bar.
Final word
When you improve image quality, they can give you a tremendous impact on your success. If you need to illustrate different services you provide, showcase your products, and another related tip to reinforce your brand, snazzy images on your website can easily help you reach there easily. Fortunately, in the above article, you are advantaged to learn and understand how you can increase image resolution to make a shining and beneficial way for your products and websites.
