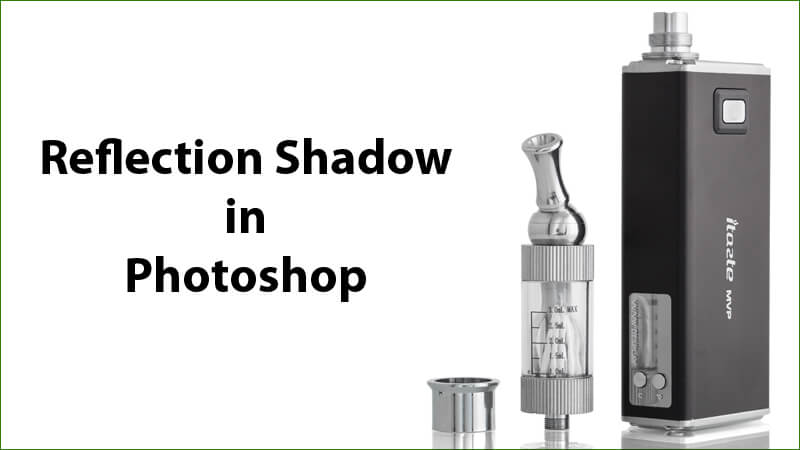
Maybe you have ever heard about shadow creation services before, most probably if you like or deal with Photographing things. This is a modern system process of the graphic layout that creates the objects over the rest of the Photo through laying direct shade right behind your objects. In this case, we get reflection shadow in Photoshop.
Using reflection shadow creation in our product photos can change the impression of product quality and create your clients’ perspective. Generally, creating reflection shadow in Photoshop can modify impressions, highlight the documents, make visible images, and be applied in many other ways.
Overall, this image product technique is effective and simple, which can really benefit our e-commerce stores. So without further ado, allow me to take you through a comprehensive and quick guide about how to create reflection shadow in Photoshop and how it can help a business grow.
Easy Way to Create Reflection Shadow in Photoshop
What exactly reflection shadow is?
Reflection shadow creation means shadows created in the background, flipped around to eventually have some kind of reflection on an object. Generally, this process makes your images appear as if the product is photographed on any reflective surface, such as a glass mirror.
Reflection shadow can add an extra dimension to your image. Besides, it is effective for the items such as jewellery, and it has subtle effects that cannot distract the product itself. However, it makes potential consumers feel like displayed products and items are well-lit and clean.
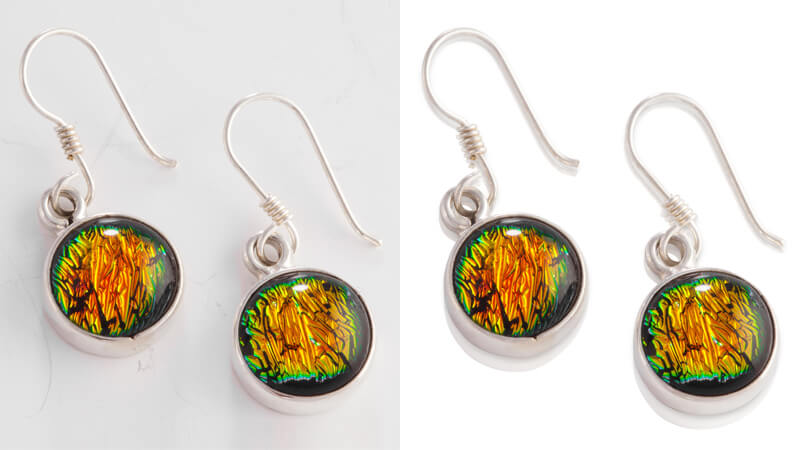
When done properly, shadow creation can put someone product on display, increase its value right in the eyes of potential clients. With Photoshop shadow service, we can things such as:
– Apply it in Real Estate on different building images to appear more appealing.
– Apply reflection shadow on our garments products
– Make the show look more natural
– Give models a more appealing and natural look
How to create a reflection shadow in Photoshop?
1. Select an image to add the reflection shadow
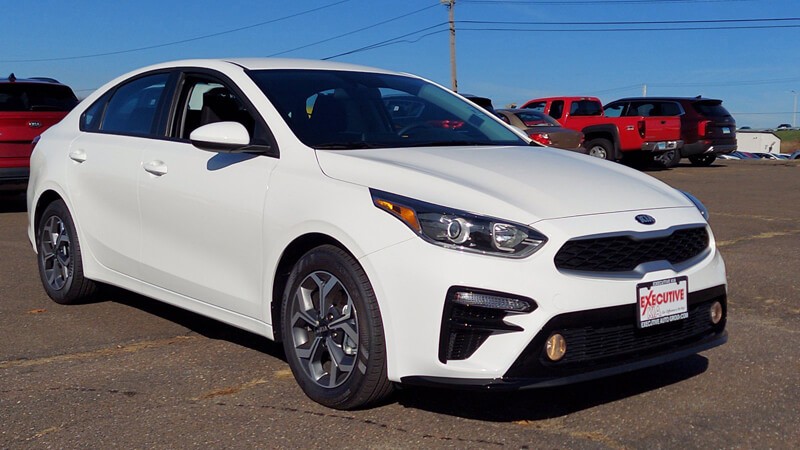
Generally, making an appropriate selection of photographs you are working on, to create reflection shadow in Photoshop is essential to make your steps as detailed as possible. First, Pre-visualize the look of your Photoshop reflection on the Photo. In this case, select an image with a clear line for your results to be realistic and impressive.
2. Double Canvas size
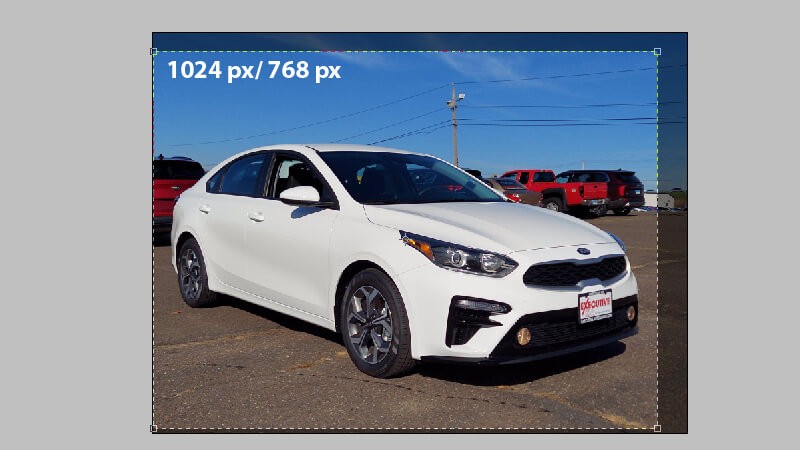
Now open the Photo you have selected. Generally, your canvas should be enlarged to accommodate the product’s reflection. The Ctrl+alt+c buttons will open your canvas resize window. On height input box, you should click drop down and select percent and change height percentage right to 200. Further, click arrow on top centre-right on Anchor diagram and this mead a fresh canvas space already added under image you’re working on, click ok.
3. Now make a duplicate layer.
First, consider unlocking layers by clicking the padlock icon right in the layers panel. Next, duplicate your layer via selecting layer, Ctrl+j right on the keyboard. Now rename these layers because this will make it easy to have track to the specific layer you are dealing with.
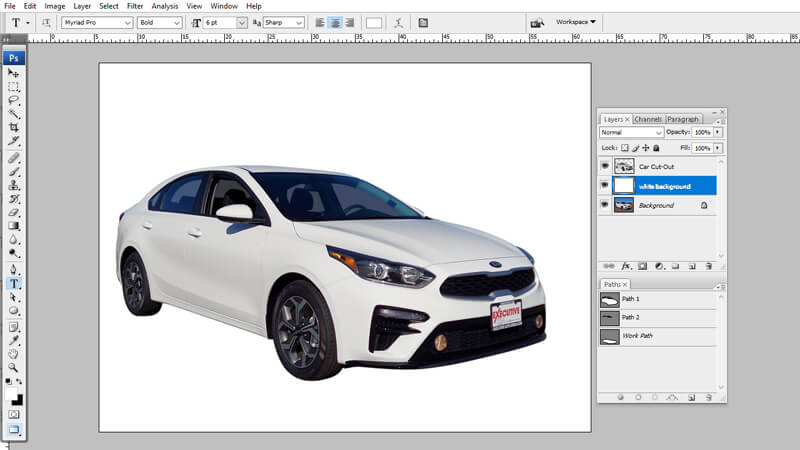
Further, make the both layers a “smart object” via right-clicking in the layer panel and selecting the convert to your smart object. Finally, drag duplicated layer to space below the original layer.
4. Flip your lower layer, then add Blur
Your lower layer should be your reflection, meaning it should be flipped vertically. To do this, use the transform tool that can get initiated via utilizing Ctrl+t right on your keyboard. Next, right-click in the targeted image, choose Flip vertical, followed by pressing enter on the keyboard.
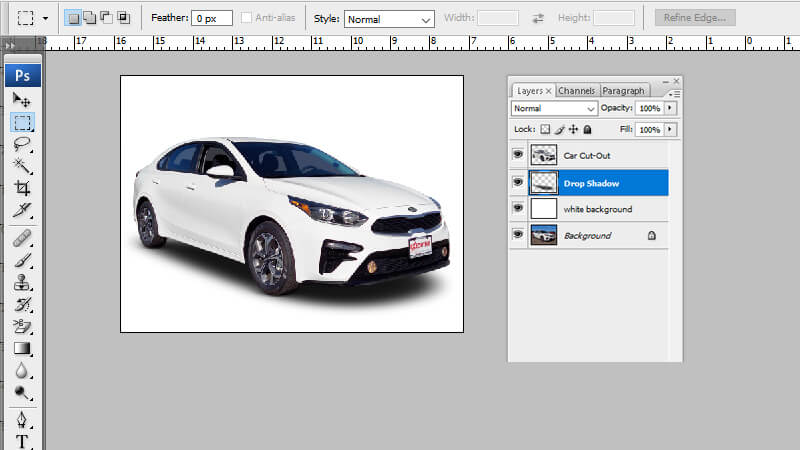
And from top menu, select filter –Blur-motion blur then make angle 90 degrees, distance value for it to look attractive. Generally, this may also depend on image resolution, and the size someone is working with. Remember to nudge your layers up to avoid having a gap in it and top layer when necessary.
5. Create a fresh file
In this step, you should create a new file to help you make reflection impressive and more realistic. However, avoid making this new file too large; make it similar shape to reflection photo but with small size to allow the Photoshop save it. Further, choose best paint bucket fill and fill your image in black. And unlock your background layer via clicking the padlock icon on the Layers panel.
6. Add the noise /Blur for texture
It is in this step you should add the noise right to black layer to start building texture that you will eventually add in your reflection layer. Select filer-noise-add noise from top menu, make the amount be about 400 percent, then chose check box for the uniform followed by clicking ok. Now add more Blur by selecting filter –blur-gaussian Blur to set 1.5 pixels radius. Click ok. At this point, you will notice a speckled appearance to your Photo, which is not yet textured enough.
7. Emboss the image texture
Specifically, open your channel panel, then click on Red channel. Select filter from particular top menu to stylize to Emboss. The angle should be set at 90, height 5, amount to 500, then click ok. Chose, green channel, then filter – stylize- emboss right from top menu.
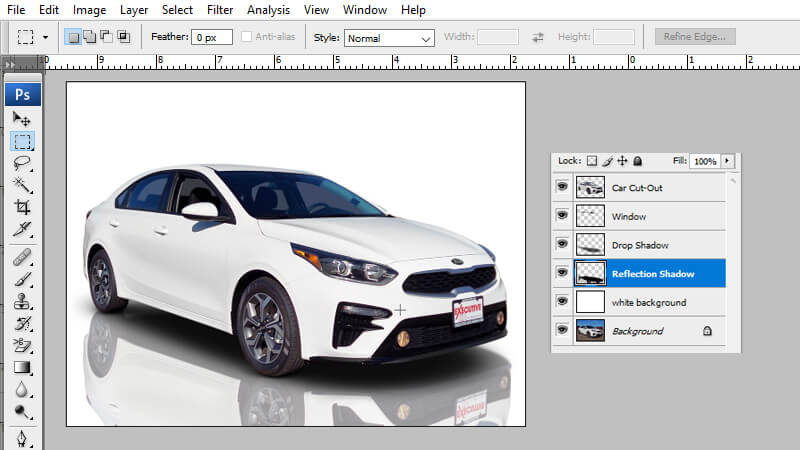
In this case, the angle should be at zero, height at five, while the amount at 500, followed by clicking ok. Further, turn all your channels via clinking RGB. Move back to the layers panel; next right click your layer, converting it to a smart object.
8. Stretch the perspective
Press ctrl+t now that layer is selected to bring the transform window. Next, right-click inside your image, followed by choosing a perspective. Also, zoom out a long way to make the noise image small on the screen. Click on bottom right or bottom left handle at transform box, then horizontally drag it.
At this point, the base of your image will be stretched, and aid distorts noise to make it natural whenever you typically incorporate it to reflection Photo. Press enter; zoom back into 100 percent by pressing Ctrl+Alt+0 on the keyboard. Now, resize the noise image to make it slightly smaller than your canvas’s lower half by pressing Ctrl+t. Name and save your image to easily locate in the next step.
9. Add the displacement layer.
To your major image, click on your reflection layer, then duplicate it through pressing Ctrl+j on the keyboard and name it a refection copy. Now with your new layer chosen from top menu, select filter- distort – displace (should be above another reflection layer).
Set the horizontal and vertical scales to ten. However, you might be required to change the image does not look decent because it depends on the resolution and size of the image. Click ok, and new window will automatically open; select distortion photo you had created and saved before.
In this step, the texture you created will be added as displacement layer. And if the ripple effect appears too small or large, ensure you undo that specific step, redo that step again however, choose a lower or higher number for displacement scale this time around. Make sure you experiment with this to be satisfied with its appearance.
10. Now tweak the reflection
Copy layer click on the reflection, on layer mask icon right at bottom of layers panel, chose brush tool followed by setting color into black. At this point, right-click on your selected image, set brush size to be a bit large while hardness slider be at zero percent. And click anywhere that window, specifically outside, to close it.
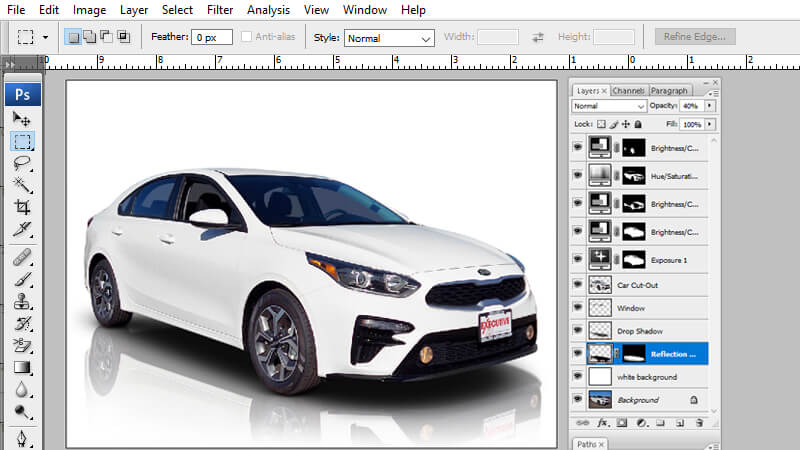
Further, from selections panel above, your specific image set brush opacity of 20 percent. At this point, start painting side to side over half of the reflection layer to meet top layer, and this will automatically lower its opaqueness by 20 percent. The keep repeating this act till your reflection appears more natural. And ensure your layer mask is selected but not the actual layer.
Select bottom two layers next right-click in the layers panel and choose merge layers. Bring up curves window through pressing Ctrl+m on the keyboard. Next click, then drag down middle of your curves adjustment line. Essentially, this will darken your reflection layer but drag that curve low enough to make it more natural. You can also crop your Photo’s bottom if necessary.
Frequently Asked Questions on Reflection Shadow In Photoshop
(a) Where is reflection shadow important?
– In creating the shadow behind the text
– Making irregular shadows
– Modifying shadow of different images
– Including white border into Photo’s
– To darken some masked portion of various images
– Creates shadow behind various forms of an image
(b) Who should mostly use reflection shadow?
– Health care companies
– E-commerce companies
– Publishing companies
– Advertising companies
– Modelling companies
– Jewellery business companies etc.
Conclusion
Occasionally, we might take some images and feel that they lack some impact. The reflection shadow effect can often offer more interest in your photograph. Essentially, it can make your architecture and landscape images really pop. But reflection shadow should be properly created to give you such excellent and impressive results.
And making reflection in your Photoshop is much easier with the above guide than even capturing a picture on camera. Choosing the right image is essential because not all images are appropriate to create reflection shadow in Photoshop. And as you continue experimenting and gaining experience with the above steps, you will make a clean and good reflection shadow.
