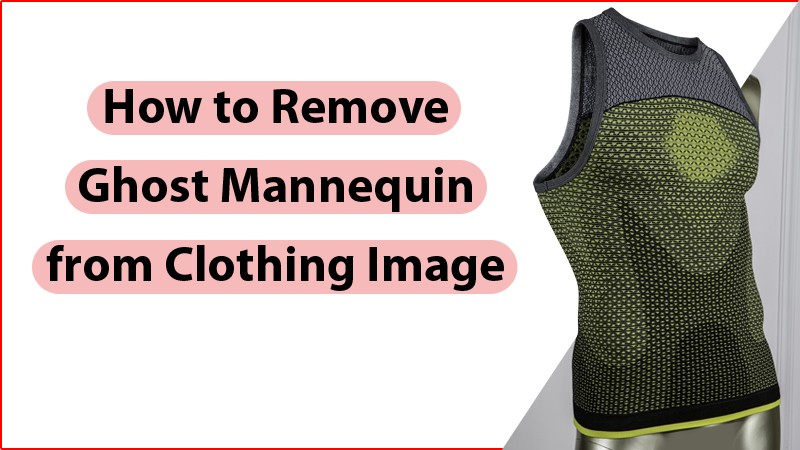
Today’s fashion is an extensive selection, especially when it comes to marketing our most desirable products. And among the trending and popular fashion eCommerce is ghost mannequin in Photoshop. This is a product photo editing process where different shots of that specific product are combined in post-production to typically get a similar product image.
The mannequin and parts of that model are removed, making the ghost-like effect appear decent and quality. Generally, ghost mannequin photo editing service gives the product dimension. Overall, it would be easy and representable to eventually give your business store professional touch with Ghost mannequin service.
Ghost Photoshop Mannequin is meant to give your potential customers visualize the products right in their minds. But how should we remove the Invisible mannequin effects in Photoshop, especially clothing images? Don’t worry. I got you covered.
What Is Ghost Mannequin Photoshop
This is a product image editing design where many shots of a specific product get combined in post-production to typically come up with a lifelike product photo. This is the process that Photographers utilize to provide 3D effect or hollow man to their different clothing fashion apparel making them looking more engaging and attractive to consumers.
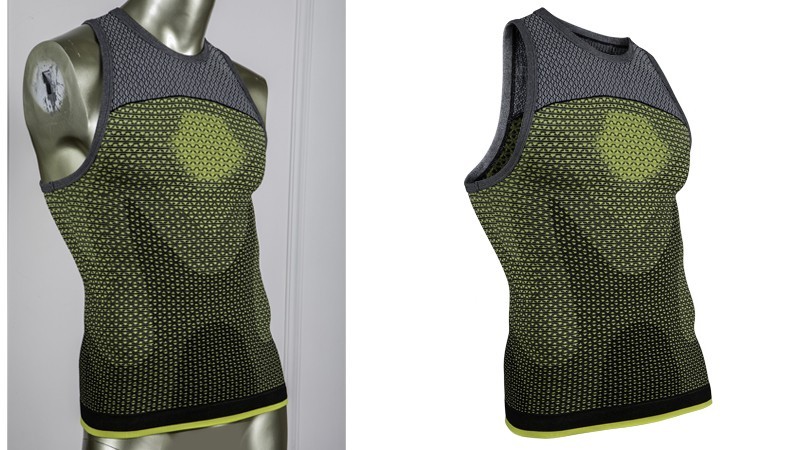
Essentially, Ghost mannequin service is mostly utilized for clothing stores, eCommerce businesses, Photography agencies, shopping malls, etc. And since there are different parts in the Ghost mannequin process someone needs experienced and expertise in specific types of products photos.
Photoshop Tutorial: Remove invisible / ghost mannequin from the clothing image
Step 1: Open your photo and make layers
This is the first step of removing the invisible mannequin in a clothing photo. Next, consider opening your image from the menu and make a fresh background layer. Besides, new layers are supposed to get engulfed right with white color, which will be the final background color after you are done with the process.
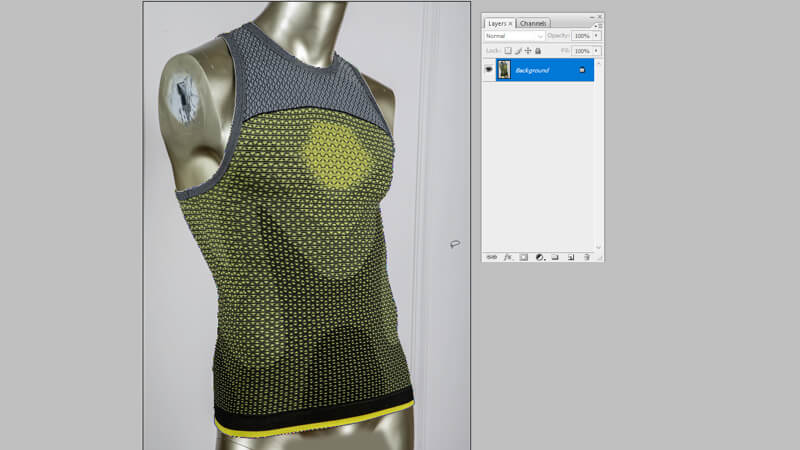
In this case, double-click right on the new background making the layer editable, and rename its front. Generally, crating black background helps someone see the specific selections precisely when removing the ghost mannequin.
Step 2: Choose a background utilizing the magic wand tool.
Ensure the front layer right on your panel layers is selected. Further, choose the magic wand tool on the quick selection of Photoshop’s toolbar. Now, click, hold right on quick selection to eventually reveal, selects your magic wand tool. You will notice two specific buttons right above the application window with the magic wand tool. These are select & mask and select subject, slick on the select& mask.
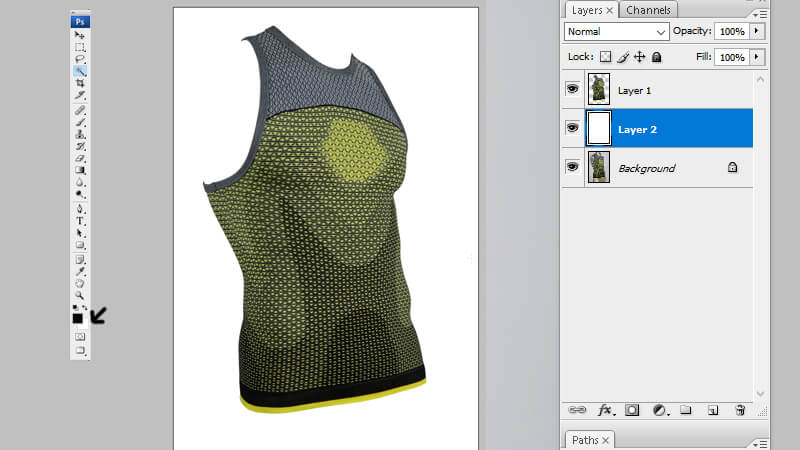
You should see a black screen in the preview window which appears. Ensure the view is right to set on specific layers, and now choose the subject knob above the screen. In this case, Photoshop will eventually attempt to figure out the subject on your dressing image, where a selection will be created accordingly. Especially, for some of dealing with a solid background with a different color magic wand will do the magic.
Step 3: Chose the mannequin with the magic wand tool
Now you need to remove ghost mannequins from clothing in Photoshop. So, select the quick selection tool followed by selecting subtract right from the selection bar above the preview window. Then subtract and add appear like a dashed ellipse with minus plus signs.
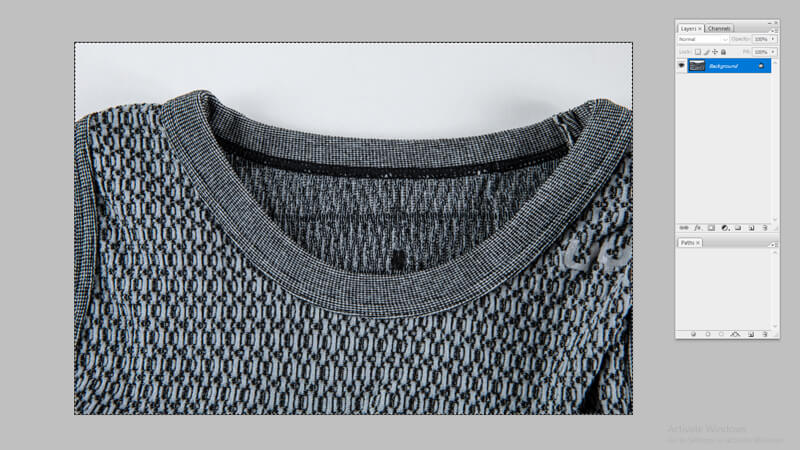
Chose mannequin areas that are showing via clicking on the preview window, Immediately, these zones will permanently disappear right from view when you on clicking them. Besides, you don’t need to have a perfect selection, although it should be much refined enough where you can remove additional pixels on clothing photos utilizing the eraser tool.
Step 4: Create the layer mask
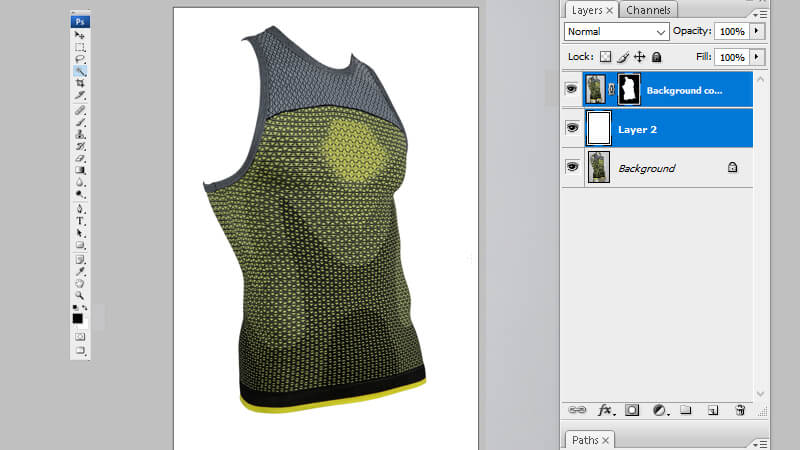
Click the mask icon on the front layer to mask out the image background. After choosing the mask icon, which is located next to the front layer icon. Further, select the eraser tool right on the toolbar, ensuring your foreground color is specifically set white while the background color is black. Now erase all ghost mannequin in Photoshop which is still visible.
Step 5: Liquify
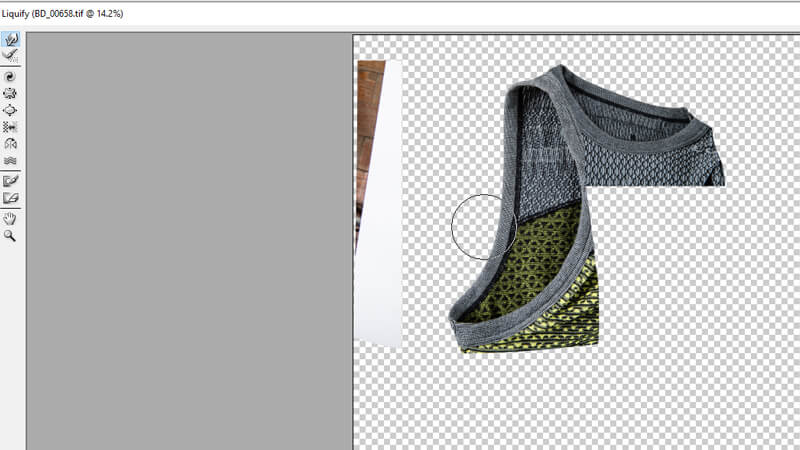
Liquefying is done to cover the spaces which might seem incomplete. Move to filter, followed by liquefying. In this case, you get your clothing image right in another window and when you are done, press okay.
Step 6: Ironing
Generally, ironing will make apparel appear polished. So, you might have apparel with shade variations and wrinkles here and there, and that is where graphical ironing will be needed over the clothing. You can utilize the clone stamp tool and collect any imperfections as a retouching method.
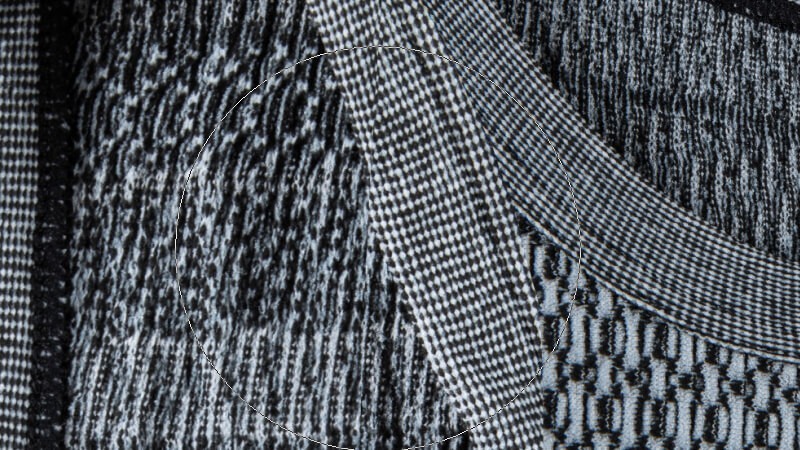
To use this tool, press, hold option /Alt for MAC/win, followed by clicking on the sample. Further, release it and move your pointer to any improper zones. Also, remember you require taking the sample many times right from the clean areas for satisfactory results.
Step 7: Create interior selections
This is the right time to eventually break out your second clothing photo that shows the interior of the cloth-like neck. In this case, repeat the third and second steps with interior photograph to have the selection of clothing itself followed by creating a layer mask.
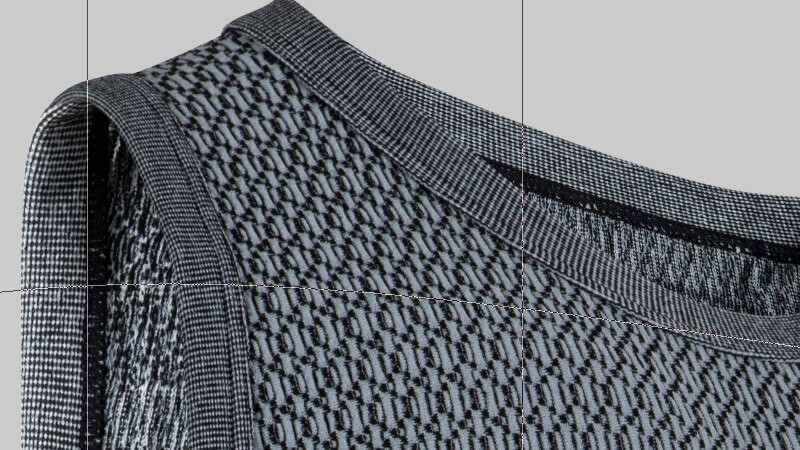
Utilizing the rectangular Marquee tool, choose the neck zone of your clothing. Further, in the front photo, choose the background layer to paste the selection. Also, you can rotate or scale the neck layer to line up neck and back lines in front of shoulders and neck.
Step 8: Add back part
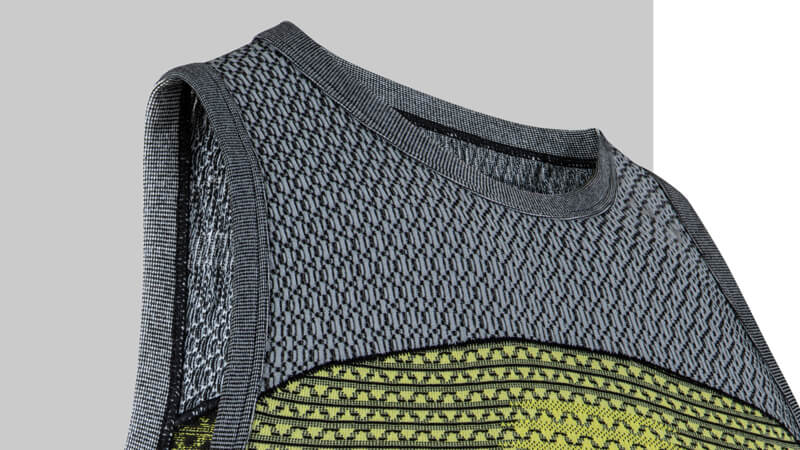
You may choose the needed part or preferably add whole directly. When adding the whole part, you will be required to cut off the unnecessary zones by a path. Add the back part at the front part followed by placing it right below the front part. Adding the back part will take your top layer automatically.
Step 9: Place back part
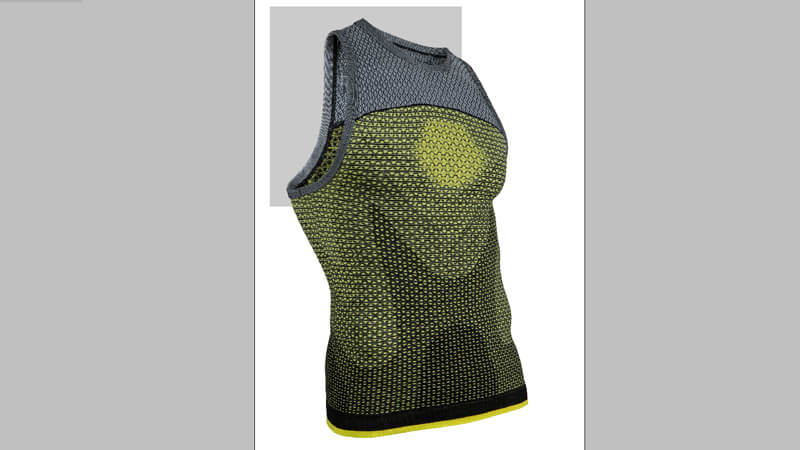
In essence, placing your back part based on the front part is easy and at the same time essential. Use the transform tool for excellent results. Also, you can rotate, resize and match your front part based on the clothing image. After you are done with placing, press enters to return for Mac/win to apply.
Step 10: Clipping back part
You can utilize the path copy that you made on the front part to clip your back part. Now click and drag path fr another path icon. Further, rename your path, press and hold the alt selection for mac /win, followed by clicking on the path. This process will display anchor points that you should work on.
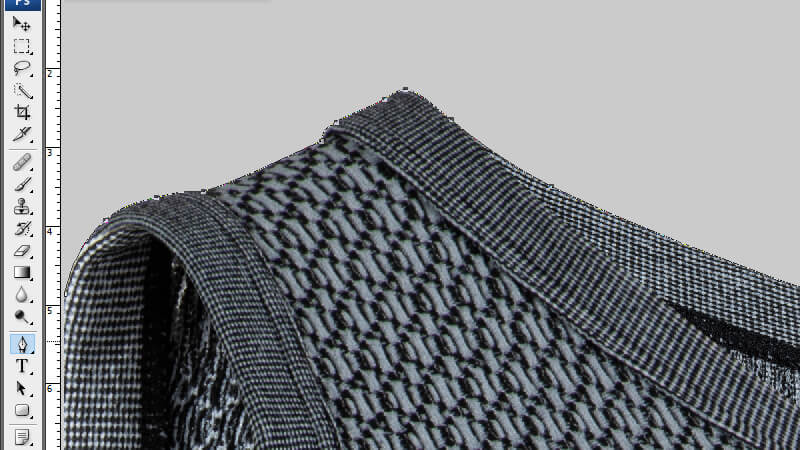
So press, hold the control/command for mac /win followed by clicking& dragging to choose anchor points you may require to get rid of. Utilize the delete button to eventually remove anchor points. Additionally, click anchor points to complete your path based on the back part.
Step 11: Edit back part
Press & hold the command/control for mac/ win to make a selection. Invert the selection and remove unwanted zones using the command/control + shift +I button for mac/win. Further, press the delete button to get rid of the unwanted zones. Finally, utilize the warp selection on this specific part to make the curve on the neck point.
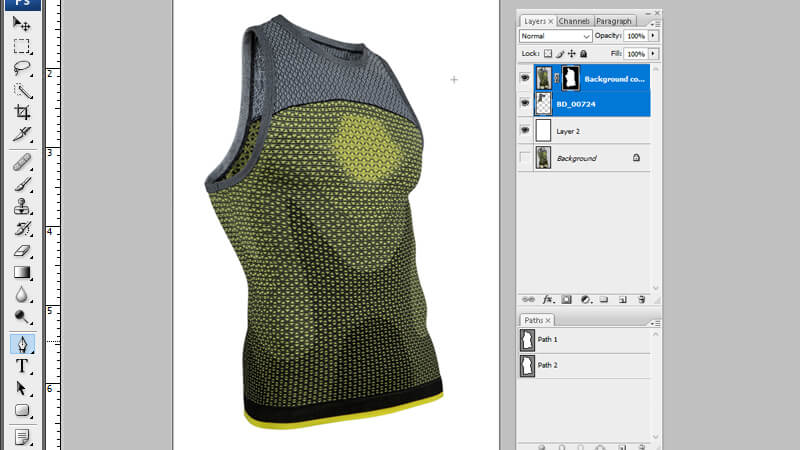
You can also liquefy to make the area appear decent after applying the warp. So, do liquefy matching with your clothing texture and be precise with the moves you are making. And for the individuals dealing with an image that doesn’t have any labels, this operation is easier.
Step 12: Add shadow
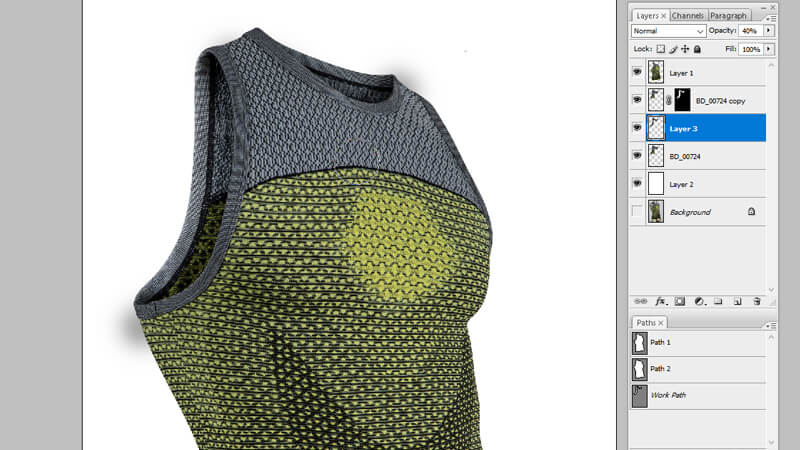
Shadows make the clothing image realistic. Thus, it would help if you use the drop shadow for best results—double click right on the front part layer, followed by selecting the drop shadow.
Step 13: Remove the outer shadow.
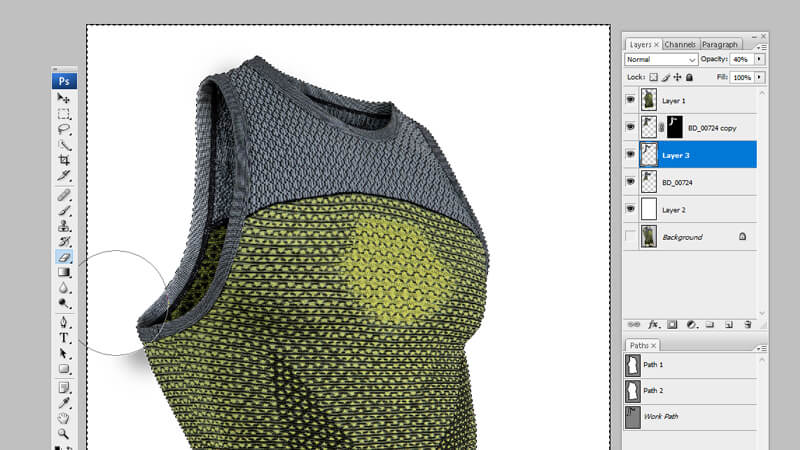
You require separating drop shadow right from layer to eventually get rid of the outer shadow. So, right-click the drop shadow, select “create a layer,” press, and hold Command/control for mac/win. Further, utilize command/control, shift, I for mac /win to typically make invert selection. Further, press the delete button removing the outer shadow.
Step 14: Save
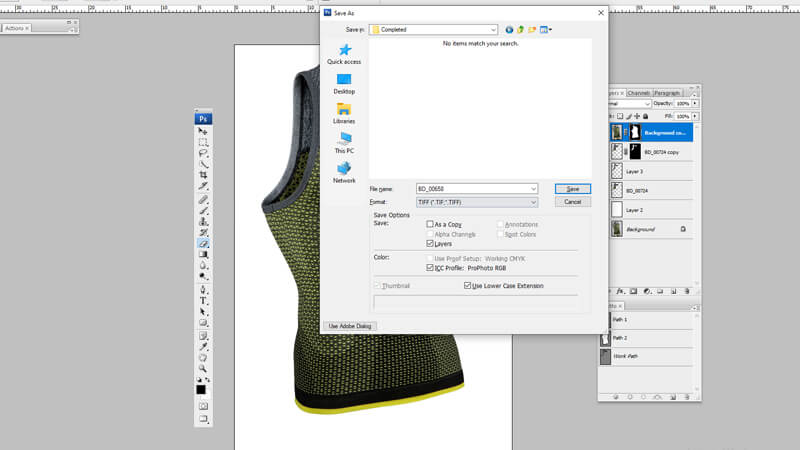
Are you done with all the above steps? Now is the right time to save your clothing image. However, before doing this, check your entire clothing image to ensure it is satisfying without an invisible mannequin effect. And if you come across impurities, collect them and then save your file right in PSD format in case further editing is needed. Further, you can choose a TIFF format that has paths and layers.
Frequently asked questions
(a) How should someone shoot an Invisible mannequin?
Generally, this procedure involves the back and front images. Meaning your Photoshoot should be based on requirements.
(b) How should someone create the Ghost effect in any Photoshop?
Remove the mannequin using a clipping path or preferably any other selection tool. Further, add the back parts or any image parts needed to make it visible. In addition, collect all impurities and complete the entire apparel.
(c) Why is Ghost Mannequin essential?
This process is essential for creating apparel presentations, and the most vital part of it is that it’s cost-saving compared to real human models. So, this process is an alternative to real humans.
The ghost Mannequin effect in Photoshop services is becoming popular in today’s world for apparel presentations. This process is a beneficial and easy operation where we can simultaneously get catchy looks and costs for our products.
However, removing the ghost mannequin from your image is the best process that displays both the outer and inner parts of your clothing. Further, this enables your customers to have a clear idea of the product before purchasing and wearing it.
Removing ghost mannequin effects from your garments is an essential process that needs the expertise to give your clothing the best& original shape through blending the front and inner portion of your photo. And that is why we have researched and come up with the above professional and easy ways to help you remove needed parts of an invisible mannequin from a clothing image.
Conclusion
Quality Images give life to our garment products, and they are needed to typically increase sales. Besides, this gives a very realistic view, most probably for the fashion retailers when you have real models wearing the products you are marketing.
However, it might be challenging and expensive to apparel the business owners to eventually photograph their specific products with such models and attract the buyers. In this case, using a mannequin is the best solution, but the ghost or invisible mannequin should be removed from your images for excellent results. So, without further ado, below is a detailed and comprehensive guide to help remove mannequin effects on your clothing image.
