
White background product photography
Generally, white background product photography is one of the fantastic updated styles for updating e-commerce business photos. It refers to the technique used by e-commerce platforms to extend the photo editing service. As a business owner, you will be able to create more professional and valuable product photos to increase your sales. However, to make your photos more attractive and elegant, you should customize the business product photos with different updating terms, like a white background.
Why Use White Background Product Photography?
White background product photography is popular for several reasons:
Focus on the Product:
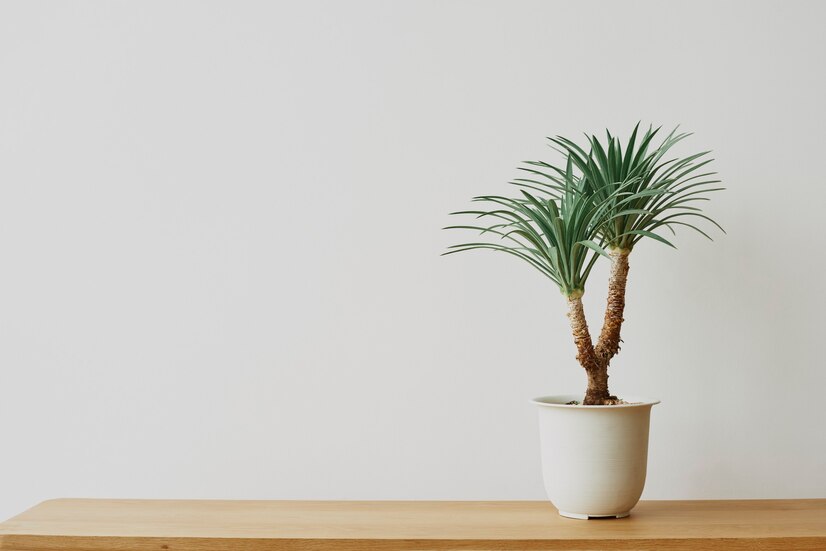
A white background eliminates distractions, allowing the viewer to focus solely on the product being photographed. This is particularly important for e-commerce websites where you want the product to stand out.
Professional Appearance:
White backgrounds provide a clean and professional aesthetic, which can enhance the perceived value of the product and the brand.
Easy Editing:
A white background makes it easier to edit and manipulate the image in post-production. It’s simpler to adjust lighting, remove unwanted elements, or make color corrections when the background is uniform.
Timelessness:
White backgrounds have a timeless quality to them and don’t tend to go out of style. They offer a classic look that remains appealing to viewers over time.
Benefits of using white background product photography
Professional photographers are just fond of this product photography editing technique. This technique is amazing, effective, and very easy to apply. Here, I am describing the actual and specific benefits of white background product photography. Have a look!
- To update the quality of your product images, you should customize these photos with this functional technique.
- It’s one of the safest and simplest processes to create just fantastic product images for your business success.
- This white background product photography is an inexpensive photo editing technique to make your photos just professional.
- If you want to create product photos with an extra layer that will provide you with a more consistent feeling, you should apply this white background.
- This white background product photography technique will make your photos simple, attractive, and appealing features.
- This stylish and more attentive photo editing technique will work as a great advantage to make your business successful.

Shooting products on a white background involves several steps to achieve a clean and professional result:
Select the Right Equipment:
- Camera: Use a digital camera with manual settings or a high-quality smartphone camera capable of capturing detailed images.
- Tripod: Use a tripod to keep your camera steady and ensure consistent framing.
- Lighting: Choose soft, diffused lighting to minimize harsh shadows and create even illumination. You can use studio lights, natural light, or a combination of both.
Set Up Your Shooting Space:
- Choose a well-lit area with ample space to set up your equipment and props.
- Set up a table or surface to place your products on.
- Use a plain white backdrop such as a seamless paper roll, a white fabric sheet, or a white foam board. Ensure it’s large enough to cover the entire background and curve smoothly under the product to avoid harsh lines.
Prepare Your Product:
- Clean your product thoroughly to remove any dust, fingerprints, or imperfections.
- Arrange the product in a visually appealing position, considering its best angle and any specific features you want to highlight.
Position Your Lighting:
- Place your lighting sources on both sides of the product to create even illumination and minimize shadows.
- Use diffusers or softboxes to soften the light and prevent harsh reflections on the product.
Set Your Camera Settings:
- Choose a low ISO setting to minimize noise in the image.
- Select a small aperture (higher f-stop number) for greater depth of field, ensuring the entire product is in focus.
- Adjust the shutter speed to achieve proper exposure, keeping in mind the brightness of your lighting setup.
Compose Your Shot:
- Frame your shot to include the entire product within the white background, leaving some space around it for cropping if necessary.
- Use the rule of thirds or other compositional techniques to create a visually appealing arrangement.
Take Test Shots and Adjust:
- Take test shots to check the exposure, focus, and composition.
- Make adjustments to the lighting, camera settings, or product positioning as needed to achieve the desired result.
Capture Your Final Images:
- Once you’re satisfied with the setup, take multiple shots from different angles and perspectives to provide variety.
- Review the images on your camera or computer to ensure they meet your standards before moving on to post-processing.

Tools needed for making white background photography
Some specific and less expensive tools will be required to make your product photos more engaging and unique. Let’s see!
- A high-quality camera setting customized with quality lens and DSLR.
- Tripod will make your business product photos just amazing. You will be able to hold your camera for a long time.
- Quality lighting equipment needs to be very perfect to get fantastic output. Some of the most influential and essential parts of white background lighting are reflectors, multiple light bulbs, foam boards with white color, etc.
- Artificial white wall with sweep, paper, etc., which will provide you with a more professional photo editing service with a fabulous white background.
Setting process of white background product photography
For a perfect white background installation, you have to set some of the most important tools and accessories first. Let’s know the actual settings-
- Setting the table with a sweep, strap, etc.
- Set up the reflections and lights properly.
- Adjust all the equipment to the right position.
- Now, add your product with all setups.
Editing white background product photography typically involves post-processing techniques to enhance the image and ensure the background appears clean and uniform. Here’s a step-by-step guide to editing:
Import Your Images:
Transfer your product photos from your camera or smartphone to your computer.Select Editing Software: Use photo editing software such as Adobe Photoshop, Adobe Lightroom, GIMP, or other similar tools.
Adjust Exposure and Color Balance:
- Correct any exposure issues by adjusting brightness, contrast, and levels.
- Ensure color balance is accurate by adjusting temperature and tint settings if necessary.
Clean Up the Background:
- Use the selection tools (e.g., lasso tool, magic wand tool, or pen tool) to select the white background.
- Refine the selection to include only the background, excluding the product.
- Use the eraser tool or layer masks to remove any imperfections, dust, or uneven areas on the background.
Enhance Product Details:
- Use the clone stamp tool or healing brush tool to retouch any blemishes or imperfections on the product itself.
- Enhance product details by sharpening specific areas or adjusting clarity.
Create a Pure White Background:
- Ensure the background appears pure white by adjusting levels or curves to brighten it.
- Use the dodge tool or a white brush to paint over any remaining gray areas or shadows on the background.
Crop and Straighten:
- Crop the image to remove any unwanted edges or distractions, ensuring the product remains the focal point.
- Straighten the image if necessary to correct any crooked angles.
Save Your Edited Images:
- Save your edited images in the desired file format (e.g., JPEG or PNG) and resolution.
- Consider saving a copy with a transparent background if needed for future use.
Batch Process (Optional):
- If you have multiple product images with similar editing requirements, consider batch processing them to save time.
- Use presets or actions in your editing software to apply the same adjustments to multiple images simultaneously.
Review and Fine-Tune:
- Review the edited images to ensure they meet your standards and look cohesive as a set.
- Make any additional adjustments or refinements as needed.
By following these steps, you can effectively edit white background product photography to achieve professional-looking images that showcase your products in the best possible light.
Conclusion
If you want to save your time with making the perfect white background product photography service, you should use this technique. It will just make your e-commerce photos more professional and attractive. Finally, you will need to select a tool to complete this service, such as Adobe Photoshop. This tool will make your task more straightforward. So, get the best photos editing experience!