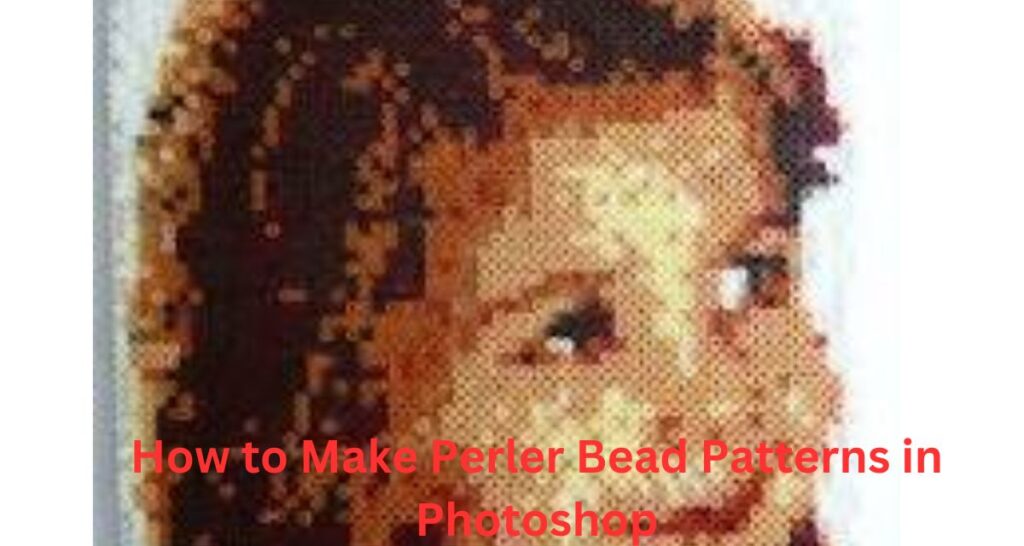
Create intricate Perler bead patterns with ease using Photoshop! Follow this step-by-step guide to unleash your creativity and design unique bead creations. Today We will also share some information that will help to create Perler bead patterns. This Guide helps with the Perler Bead Pattern. In this guide, we will walk through the process of How to Make Perler Bead Patterns in Photoshop step by step.
How to Make Perler Bead Patterns in Photoshop
Step 1: Setting Up Photoshop
- Open Photoshop: Launch Adobe Photoshop on your computer.
- Create a New Document: Go to File > New to create a new document. Set the dimensions of your canvas based on the size of the Perler bead project you’re planning. A common size for Perler bead patterns is 29×29 pixels, corresponding to a standard Perler bead pegboard.
- Set Background: Choose a background color for your canvas. Since Perler beads come in a variety of colors, choose a neutral color like white or light gray.
Step 2: Designing the Pattern
- Zoom In: Zoom in on your canvas to get a better view of individual pixels.
- Grid Setup: Enable the grid in Photoshop to help you align your design accurately. Go to View > Show > Grid.
- Pixel Art Tools: Use the Pencil tool to draw individual pixels. Make sure to select a small brush size to create precise patterns.
- Color Palette: Create a color palette using the Swatches panel in Photoshop. This will allow you to easily access and use the colors you need for your design.
- Design Your Pattern: Start designing your Perler bead pattern pixel by pixel. You can draw freehand or import images and use them as a reference. Remember that each pixel in your Photoshop document will correspond to one Perler bead on the pegboard.
Step 3: Using Layers
- Create New Layer: For more complex designs, it’s helpful to use separate layers for different elements of your pattern. Create a new layer for each color or section of your design.
- Organize Layers: Keep your layers organized by naming them appropriately and arranging them in the Layers panel. This will make it easier to edit and modify different parts of your pattern.
Step 4: Previewing Your Design
- Zoom Out: Zoom out to see how your pattern looks from a distance. This will give you a better sense of how it will appear when assembled with Perler beads.
- Preview Mode: Use Photoshop’s preview mode to see how your pattern will look without the grid and other distractions. Press Ctrl+H (Cmd+H on Mac) to toggle visibility of guides and extras.
Step 5: Saving Your Pattern
- Save Your File: Once you’re satisfied with your Perler bead pattern, save your Photoshop file (.psd) to preserve all the layers and editing capabilities.
- Exporting: When you’re ready to use your pattern for Perler bead art, export it as an image file. Go to File > Export > Export As and choose a suitable file format such as PNG or JPEG.
Step 6: Assembling Your Perler Bead Art
- Gather Supplies: Gather your Perler beads, pegboards, and an ironing paper.
- Place Beads on Pegboard: Use your Photoshop pattern as a guide to place the beads on the pegboard, one bead at a time.
- Fusing: Once your design is complete, cover it with ironing paper and fuse the beads together using an iron, following the instructions provided with your Perler bead kit.
- Cooling and Display: Allow your Perler bead art to cool before removing it from the pegboard. Once cooled, you can display your creation as desired.
Finally
Following these steps, you can create intricate and detailed Perler bead patterns using Photoshop. Whether you’re designing your own original creations or recreating pixel art, Photoshop provides the tools you need to bring your ideas to life in Perler bead form. If you have any questions, please drop them in the comment section below. We eagerly anticipate your return.
