Learn how to easily create a white background in Photoshop with this step-by-step tutorial. Perfect for product photography and graphic design projects. An image white background is important for photo editors. Mastering the creation of a clean and professional white background in Photoshop, attained by following a tutorial that involves edits such as applying a blur to the original image layer, is an essential skill for individuals within the photography industry
How to Create a White Background in Photoshop
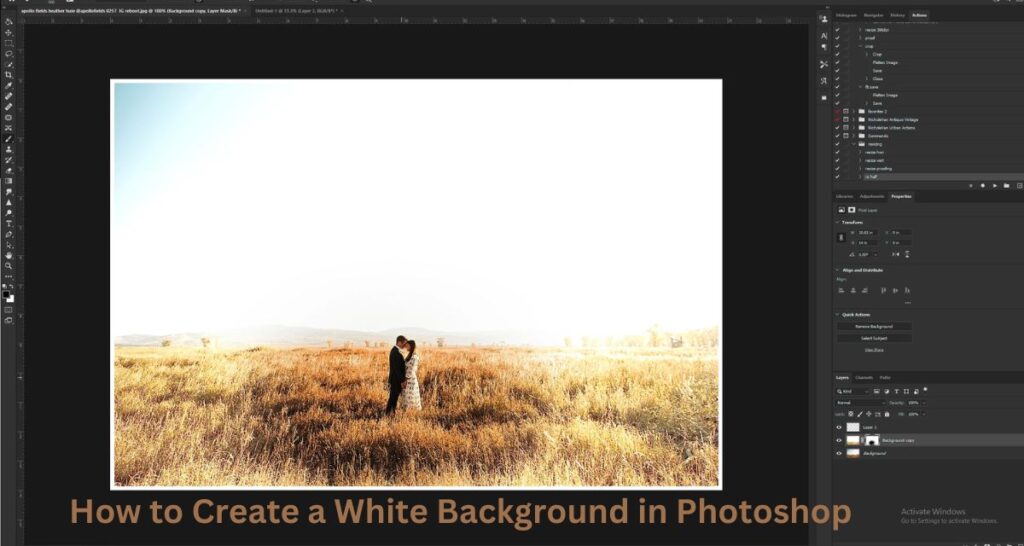
Creating a white background in Photoshop is a fundamental skill for various design projects, product photography, or general image editing. This step-by-step guide will walk you through the process in detail, ensuring that you can achieve a clean and professional-looking white background for your images.
Step 1: Open Your Image in Photoshop
- Launch Adobe Photoshop on your computer.
- Open the image you want to edit by going to “File” > “Open” and selecting the desired file from your computer.
Step 2: Duplicate the Background Layer
- In the Layers panel (usually found on the right side of the interface), right-click on the background layer.
- Choose “Duplicate Layer” from the context menu.
- Click “OK” in the Duplicate Layer dialog box.
Step 3: Select the Magic Wand Tool
- Locate the toolbar on the left side of the screen.
- Select the “Magic Wand Tool” (W) from the toolbar. Alternatively, you can press the “W” key to activate it.
Step 4: Set Magic Wand Tool Options
- At the top of the screen, you’ll find the options bar. Set the “Tolerance” to a value that works for your image; start with a low value like 10 and adjust as needed.
- Ensure that the “Contiguous” option is checked; this will select only adjacent pixels with similar colors.
Step 5: Click on the Background
- Click on the background area you want to turn white using the Magic Wand Tool. This tool selects pixels with similar colors based on the Tolerance setting.
Step 6: Refine the Selection
- To add more areas to your selection, hold down the Shift key and click on additional background areas.
- If you accidentally select areas you don’t want, hold down the Alt key (Option key on Mac) and click on those areas to deselect them.
Step 7: Invert the Selection
- With the background selected, go to “Select” > “Inverse.” This flips the selection, now highlighting the subject instead of the background.
Step 8: Create a Layer Mask
- With the inverted selection still active, click on the “Add Layer Mask” icon at the bottom of the Layers panel. This will mask out the selected background, revealing transparency.
Step 9: Check the Mask
- Examine the layer mask to ensure that it accurately masks the background. If needed, use the Brush tool to refine the mask manually.
Step 10: Fill the Background Layer
- Create a new layer by clicking the “New Layer” icon at the bottom of the Layers panel.
- Drag this new layer below the layer with your image.
- Select the new layer and fill it with white using the Paint Bucket tool or by pressing Ctrl+Backspace (Cmd+Delete on Mac).
Step 11: Fine-Tune and Save
- Fine-tune the mask and make any additional adjustments as necessary.
- Save your edited image by going to “File” > “Save As” and choosing your preferred file format (e.g., JPEG or PNG).
Congratulations! You’ve successfully created a white background in Photoshop for your image. This process can be adapted and refined based on the complexity of your images and specific project requirements.
Why You Need a Plain White Background?
A plain white background serves various practical purposes across different industries and contexts. Here are several reasons why a plain white background is often preferred and widely used:
Professionalism:
- Business and Corporate Settings: White backgrounds are associated with professionalism and formality. In business and corporate contexts, images with white backgrounds convey a polished and clean appearance, which is crucial for professional presentations, websites, and marketing materials.
Product Photography:
- E-commerce: For product images on e-commerce platforms, a white background is a standard requirement. It eliminates distractions, allowing customers to focus solely on the product. This is a common practice to maintain consistency and a professional look across product listings.
Versatility and Consistency:
- Graphic Design: A white background is versatile and can be easily manipulated in graphic design projects. It provides a neutral canvas, making it easier to integrate images into various designs without clashing with colors or patterns.
Printed Materials:
- Brochures and Catalogs: In printed materials, such as brochures and catalogs, a white background ensures clarity and readability. It allows text and images to stand out without competing with a busy or colorful backdrop.
Ease of Editing:
- Photo Editing: A white background simplifies the photo editing process. It makes it easier to isolate and cut out subjects from the background, facilitating various editing tasks like retouching, resizing, or compositing.
Brand Consistency:
- Branding Elements: Some brands adopt a white background as part of their visual identity. Consistency in background colors across various marketing materials, websites, and advertisements helps reinforce brand recognition.
Focus on the Subject:
- Portraiture: In portrait photography, a white background directs attention to the subject’s face and features. It minimizes distractions, allowing the viewer to connect more with the person in the photograph.
Final Words
The art of creating a white background in Photoshop is a valuable skill for any graphic designer, photographer, or creative professional. Share your thoughts in the comments section. If you still have questions or uncertainties, don’t hesitate to get in touch with us; we’re here to assist you and provide support. Happy Photo Editing