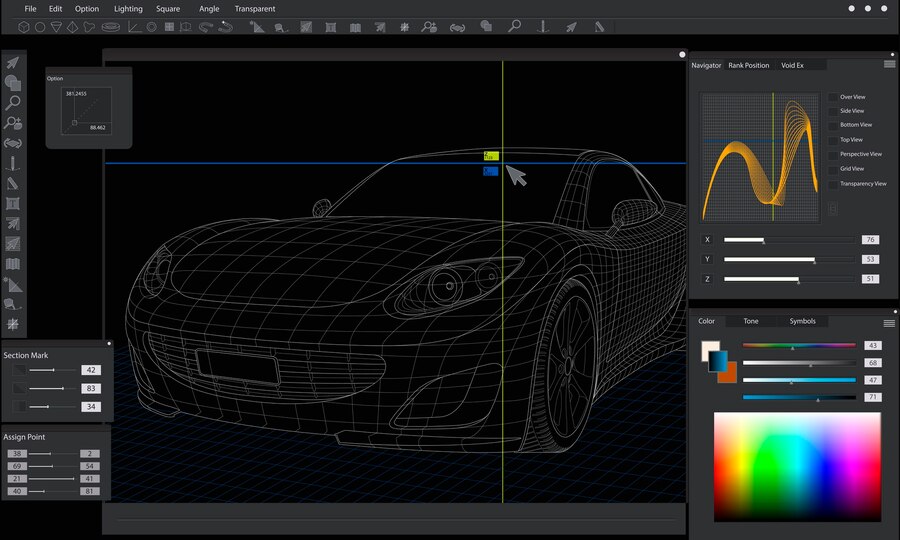
Are you looking for How to Change Car Color in Photoshop? Changing the color of a car in Photoshop is very important for car photographers. It helps to change the color of your car. You know, changing the color of the car also speaks your personality to the onlookers. Today we will discuss step by step instructions on How to Change Car Color in Photoshop. This introduction delves into the fascinating realm of changing car color in Photoshop and explores the art and technique behind the process.
How to Change Car Color in Photoshop
Changing the color of a car in Photoshop involves several steps and requires a good knowledge of different tools and techniques. Here’s a step-by-step guide to help you through the process:
Step 1: Choose the right image
Start by selecting a high-quality image of the car you want to edit. The image should have good resolution and clear details to ensure a smooth color change.
Step 2: Open the image in Photoshop
Start Photoshop and open the selected image by going to “File” > “Open”.
Step 3: Make a copy of the background layer
Right-click the Background layer in the Layers panel and select “Duplicate Layer”. This ensures that you have a backup of the original image.
Step 4: Create a selection
Use one of the selection tools to isolate the car from the background. Common tools include the Magic Wand, Lasso Tool, or Pen Tool. Make sure your selection is accurate and includes all parts of the car.
Step 5: Refine your selection
To refine and refine the selection, you can use tools like “Select and Mask” or add a layer mask and paint to soften the edges manually.
Step 6: Add an adjustment layer
With the car selected, click the “New Adjustment Layer” icon at the bottom of the Layers panel and select “Hue/Saturation”. This adjustment layer allows you to adjust the color of the car without affecting the original image.
Step 7: Adjust Hue/Saturation
In the Hue/Saturation adjustment layer properties, move the “Hue” slider to change the color of the car. Use the “Saturation” and “Lightness” sliders to fine-tune the look.
Step 8: Check the lighting and reflections
Pay attention to the lighting and reflections of the original image. Adjust color changes to match lighting angles and intensity for a more realistic result.
Step 9: Dodge and Burn for Realism
Use the Dodge and Burn tools to enhance highlights and shadows. Dodge lightens areas while Burn darkens them. This helps create a more realistic integration of the new color.
Step 10: Refine the details
Use the brush tool to soften edges, correct imperfections, and enhance details. This step is crucial to achieving a smooth blend between the original and modified areas.
Step 11: Save your work
Once you are satisfied with the color change, save your work. Consider saving the file in a format that supports layers (such as PSD) to preserve editing capabilities.
Step 12: Export the final image
To share or use the image, export it to a suitable format (eg JPEG) while maintaining the quality.
Congratulations! You have successfully changed the color of the car in Photoshop. Keep in mind that practice and experimenting with different tools and techniques will improve your skills over time.
Who Needs a Color Change?
Photographers looking for creative flexibility often turn to color shift techniques. This skill allows them to adjust the visual narrative of their photos by changing the color of the cars in the frame. Whether you’re focusing on a specific mood or enhancing an overall composition, changing car colors in post-production allows photographers to enhance and adjust their images to their artistic vision.
For professionals involved in the conceptualization and design of new car models, the ability to change colors is indispensable. Automotive designers use color change tools to prototype and evaluate different color options for a specific design, simplifying the decision-making process before the physical production stage.
FAQ About How to Change Car Color in Photoshop
Frequently Asked Questions (FAQ) – Changing the color of a car in Photoshop.
Q1: Why would I want to change the car color in Photoshop?
Answer 1: Changing the color of a car in Photoshop allows for virtual experimentation and helps enthusiasts visualize their dream cars in different shades. It’s also a valuable skill for graphic designers, photographers, and marketers who need to showcase variations for promotional purposes.
Q2: What tools are commonly used to select a car in Photoshop?
Answer 2: Popular selection tools include the magic wand, the lasso tool, and the pen tool. The selection depends on the complexity of the car outline, and advanced users can combine tools for more accurate selection.
Q3: How do I ensure a realistic color change that matches the original lighting and reflections?
A3: Pay close attention to the lighting conditions and reflections of the original image. Use adjustment layers and dodge/burn techniques to match the new color to the existing lighting angles and intensity.
Q4: Can I independently change the color of specific parts of the car, such as the body and roof?
A4: Yes, you can. Use precision selection tools or layer masks to isolate specific areas of the car. Apply different color adjustments to each section for customized and detailed changes.
Q5: What modification layers are best for changing a car’s color?
A5: The Hue/Saturation adjustment layer is commonly used to change the overall color of the car. Gradient maps can also provide smooth transitions between colors. Experiment with different adjustment layers to achieve the desired effects
