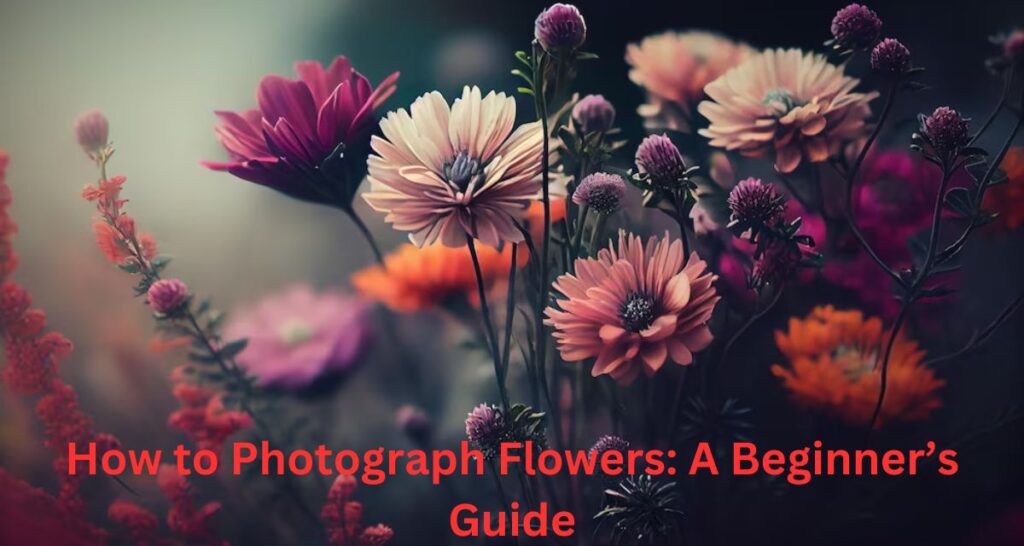
Photographing flowers can be a delightful and rewarding endeavor for photographers of all skill levels. Flowers offer an array of colors, shapes, and textures, making them captivating subjects for photography. Learn how to photograph flowers like a pro with this easy-to-follow guide. From composition to lighting, we’ve got you covered! In this beginner’s guide, we’ll explore tips and techniques to help you capture beautiful flower photographs that showcase their natural beauty.
Recommended Flower Photography Gear
Before you start photographing flowers, it’s essential to understand the gear you’ll be using. Here’s what you need to know:
Camera Settings:
If you’re using a DSLR or mirrorless camera, familiarize yourself with basic settings like aperture, shutter speed, and ISO. These settings allow you to control the exposure and depth of field in your images. For smartphone photographers, explore the manual mode or third-party camera apps that offer control over settings like exposure and focus.
Lenses:
Different lenses offer varying perspectives when photographing flowers. A macro lens allows you to capture intricate details and textures up close, while a standard zoom lens can be versatile for capturing flowers in their environment. Smartphone users can invest in clip-on macro lenses for close-up shots.
Tripod:
Using a tripod helps stabilize your camera and prevents camera shake, especially when shooting in low light or using slower shutter speeds. It’s particularly useful for macro photography, where precision and stability are crucial.
The Ideal Camera Settings for Flower Photography
Aperture Priority Mode (A or Av): Aperture priority mode allows you to control the aperture while the camera automatically adjusts the shutter speed for proper exposure. This mode is particularly useful for controlling depth of field, which is crucial in flower photography.
Wide Aperture (Low f-stop Number): To create a shallow depth of field and blur the background, use a wide aperture (low f-stop number) such as f/2.8, f/4, or f/5.6. This helps draw attention to the flower and isolate it from distracting background elements.
ISO Sensitivity: Start with a low ISO setting (e.g., ISO 100 or 200) to minimize digital noise and maintain image quality, especially in well-lit conditions. Increase the ISO only if necessary to achieve the desired exposure in low-light situations.
How to use lighting to improve your flower photos
Here are some tips on how to use lighting to improve your flower photos:
Utilize Natural Light: Whenever possible, use natural light to illuminate your subjects. Natural light, especially during the golden hours shortly after sunrise or before sunset, provides soft, diffused lighting that enhances the beauty of flowers. Position yourself so that the light is coming from the side or behind the flowers to create depth and dimension in your photos.
Avoid Harsh Midday Sunlight: Harsh midday sunlight can create harsh shadows and wash out colors in your photos. If you’re shooting during the daytime, try to avoid shooting in direct sunlight. Instead, look for shaded areas or wait for cloudy days when the light is softer and more diffused.
Use Reflectors or Diffusers: Reflectors and diffusers can help manipulate natural light to achieve the desired effect in your flower photos. A white or silver reflector can bounce light onto the flowers, filling in shadows and adding a subtle glow. Conversely, a diffuser can soften harsh light and create a more even lighting situation.
Finally
Learning flower photography is a journey of exploration, creativity, and appreciation for the natural world. In this beginner’s guide, we’ve covered essential tips and techniques to help you capture stunning images of flowers with your camera.Remember that flower photography is not just about capturing images but also about connecting with the beauty and intricacy of nature. Take the time to observe the delicate details, vibrant colors, and subtle textures of flowers, and let them inspire your creativity.
